| HomePrev | Chapter 132. Cataloging | Next |
|---|
Copy buckets are containers copy records can be put into to easily perform batch actions on. Copies stay in buckets until they are removed.
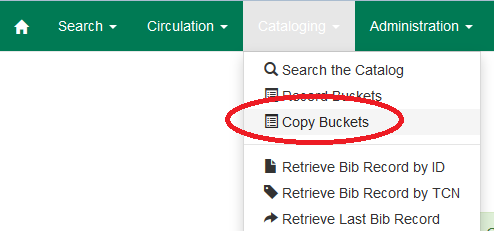
The Copy Bucket interface is accessed by going to Cataloguing → Copy Buckets.
The words copy and item are used interchangeably in Evergreen.
Copy buckets can be created in the Copy Bucket interface as well as on the fly when adding copies to a bucket from a catalogue search or from within the Item Status interface. For information on creating buckets on the fly see Adding Copies to a Bucket (needs section ID).
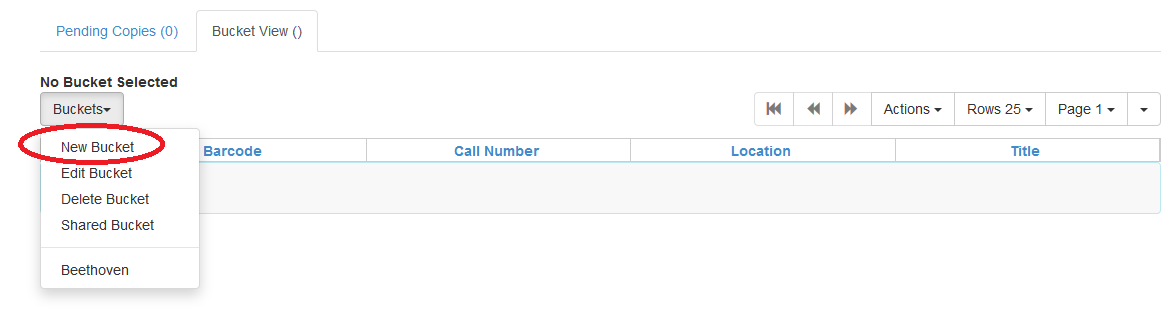
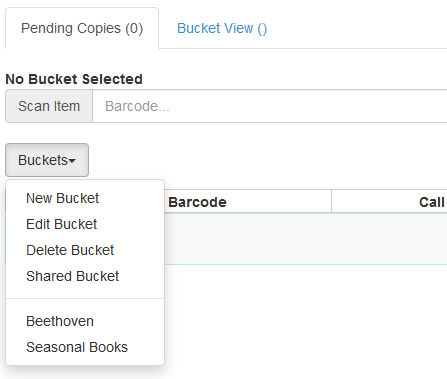
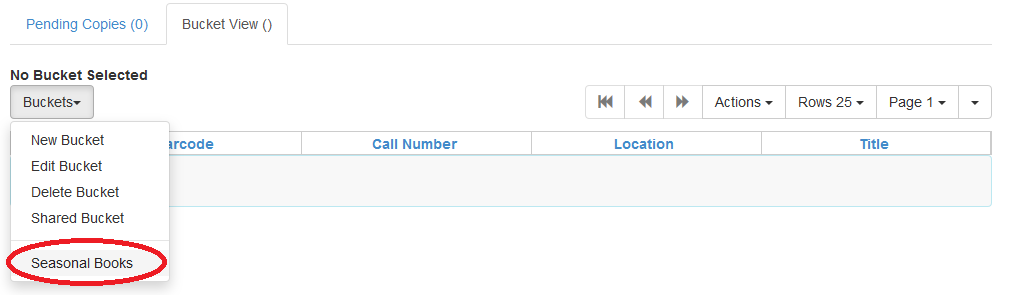
In the Copy Bucket interface on the click Buckets in either the Pending Copies or Bucket View tab.

From the drop down menu select New Bucket.
Enter a Name and a Description (optional) for your bucket and click Create Bucket.
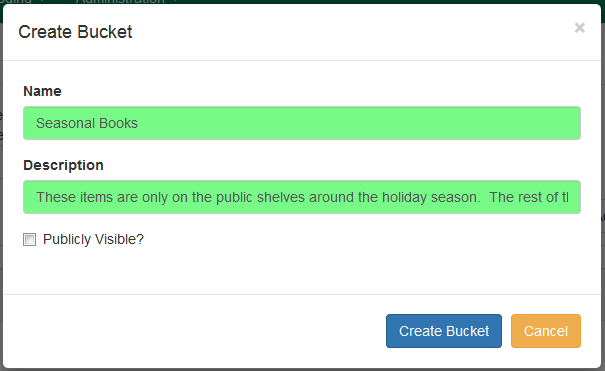
The bucket can also be set as Publicly Visible at this time.
The functionality for making buckets publicly visible does not appear to be in place at this time.
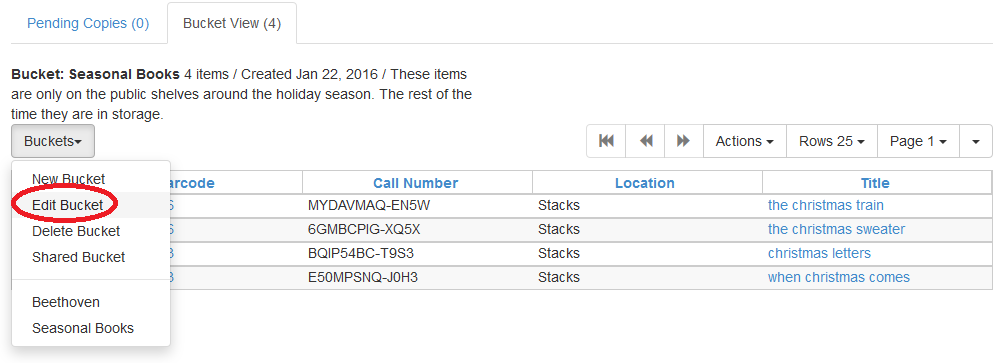
In the Copy Bucket interface click Buckets in either the Pending Copies or Bucket View tab.
From the drop down menu select Edit Bucket.
Update the desired information and click Apply Changes.
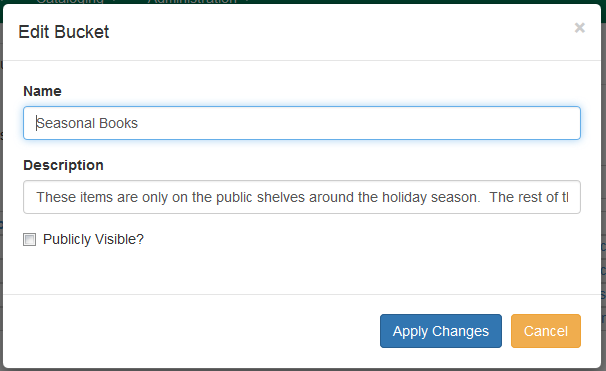
The functionality for making buckets publicly visible does not appear to be in place at this time.
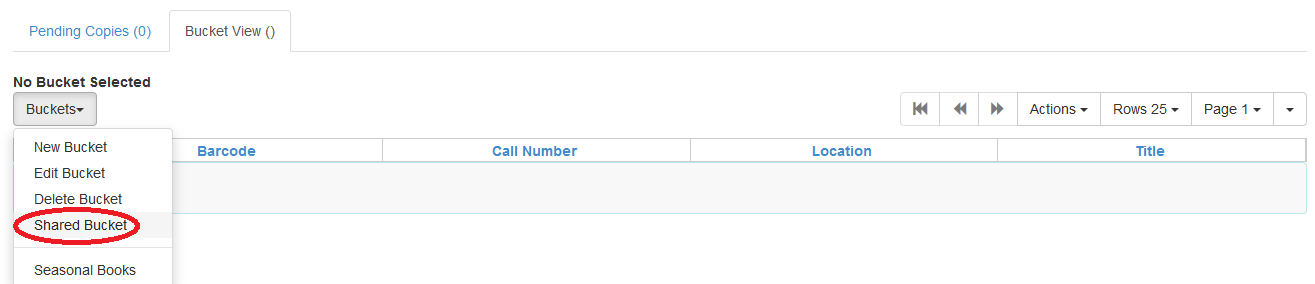
In the Copy Bucket interface click Buckets in either the Pending Copies or Bucket View tab.
From the drop down menu select Shared Bucket.
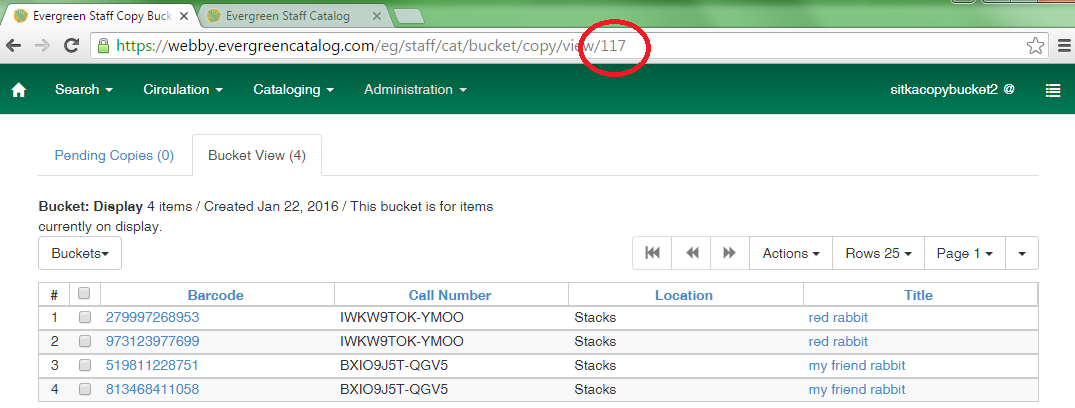
Enter the bucket ID and click Load Bucket.
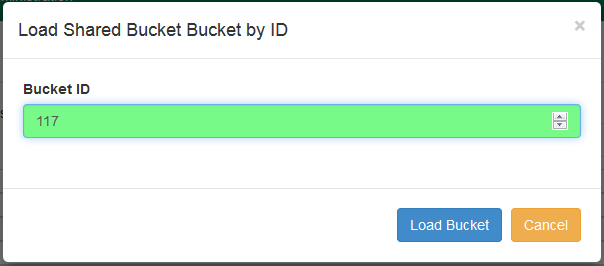
The shared bucket will display and can be worked with the same as any bucket you own.
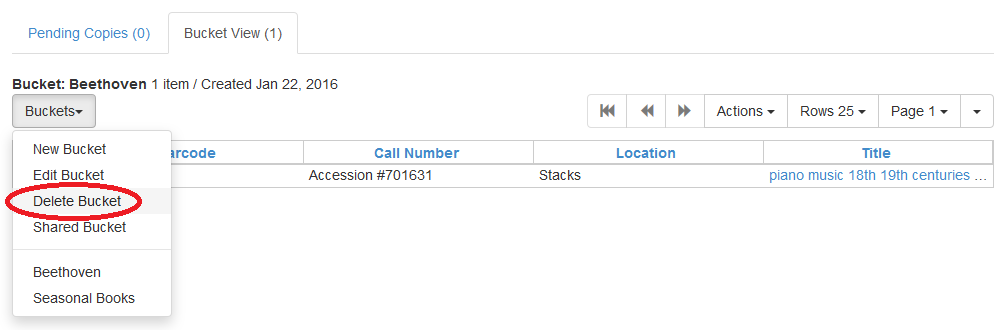
In the Copy Bucket interface click Buckets in either the Pending Copies or Bucket View tab.
From the drop down menu select Delete Bucket.
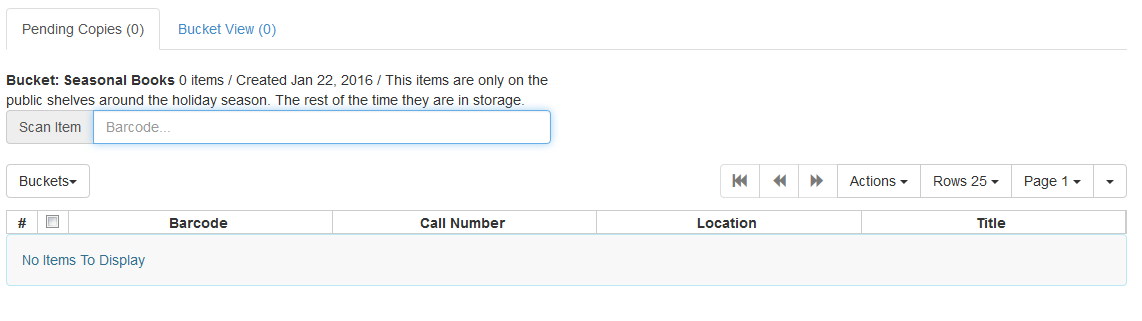
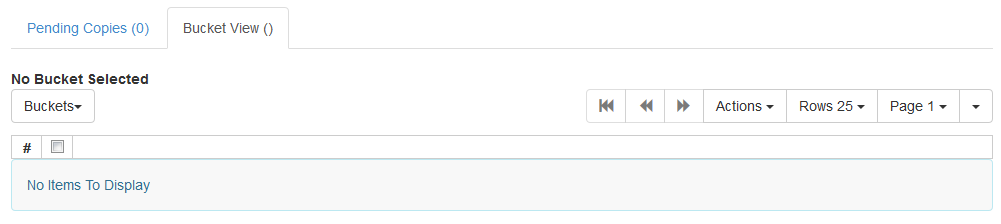
In the Copy Bucket interface click on the Pending Copies tab.

Scan in all of the items you wish to add to the bucket.
From the drop down menu select the bucket you wish to add the items to. Alternatively you can create a New Bucket (link back to Copy Bucket Interface section of Creating Copy Buckets).
From the drop down menu select Add To Bucket.
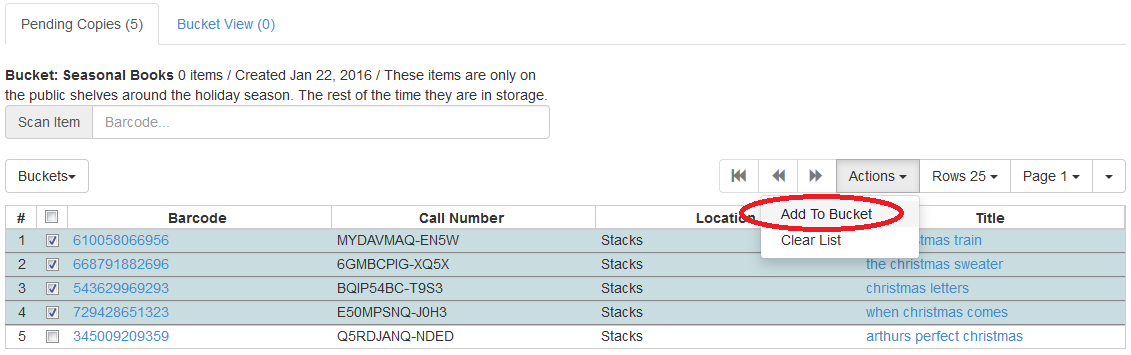
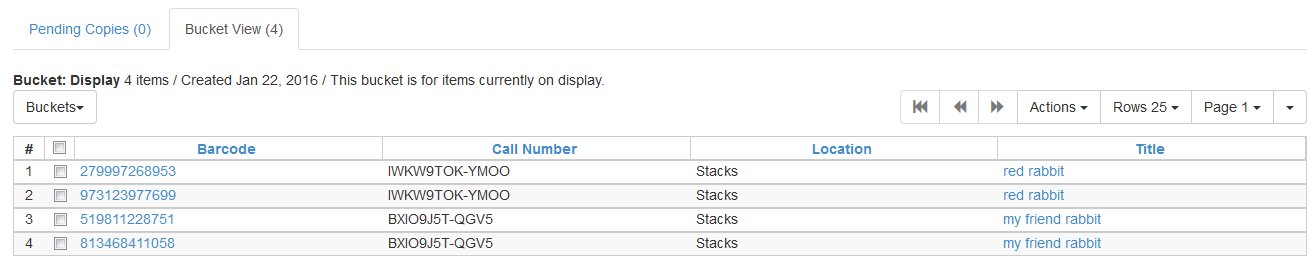
The number of items in the bucket, displayed beside the bucket name, will update as will the number on the Bucket View tab.

Once you have added your selected items to a bucket you can deselect them, select other items on your pending list, and add those items to a different bucket.
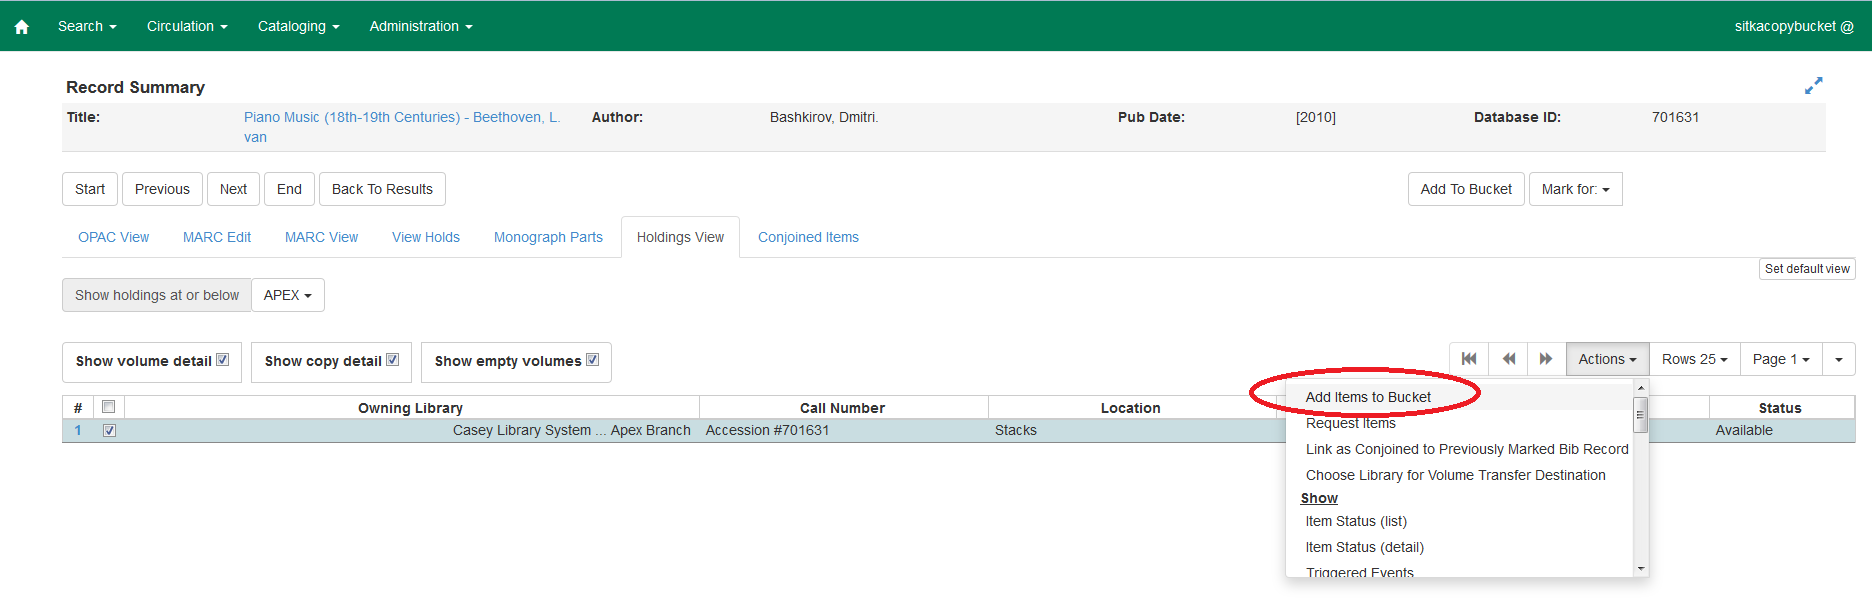
If it is not your default view click on the Holdings View tab.
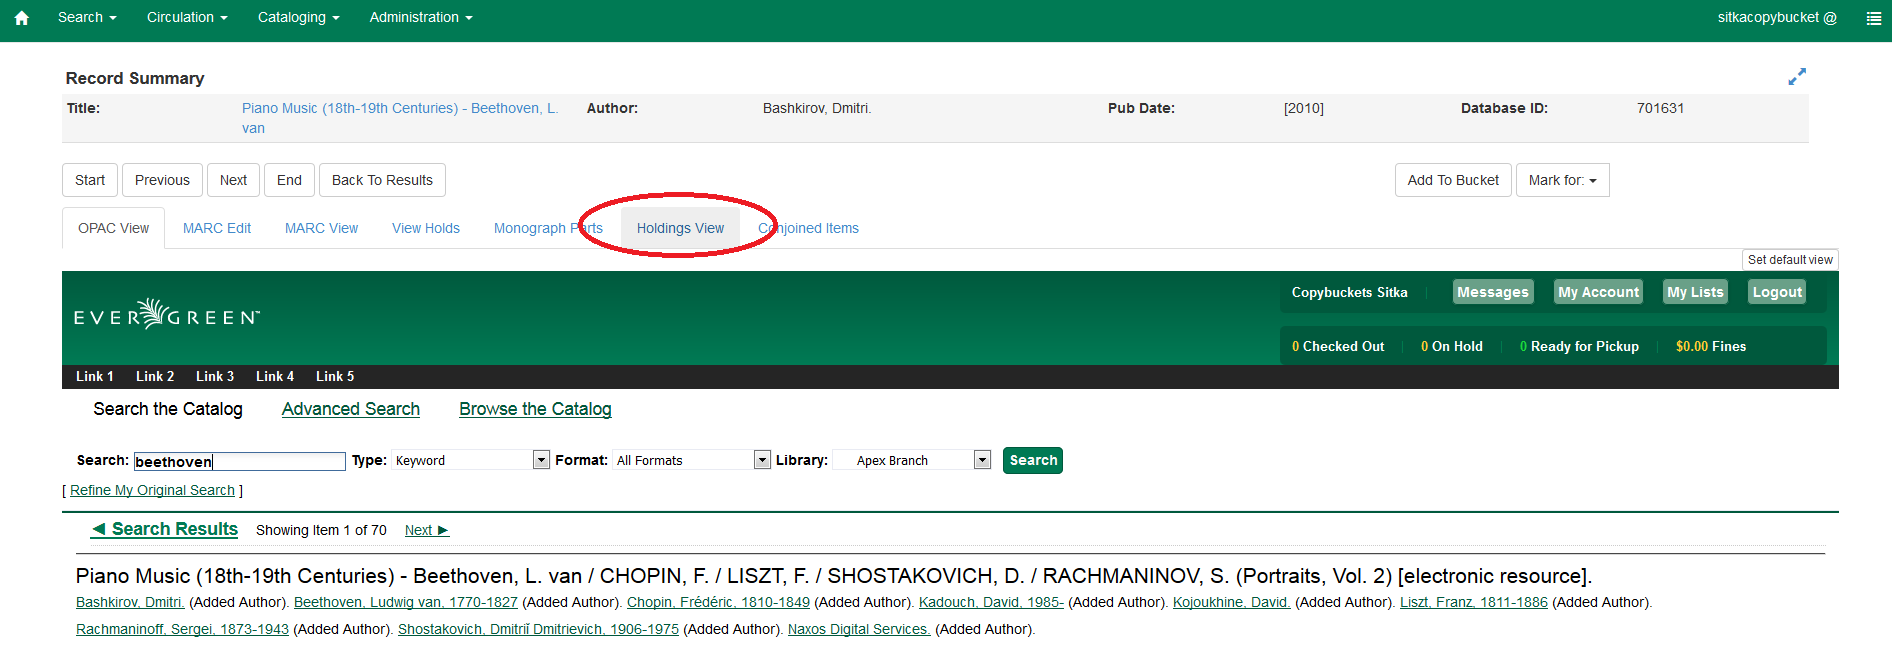
From the drop down menu select Add Items to Bucket
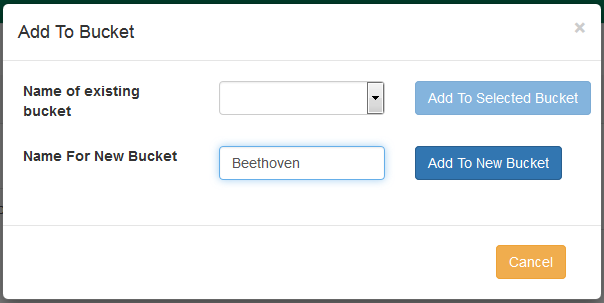
Click Add To New Bucket or Add To Selected Bucket.
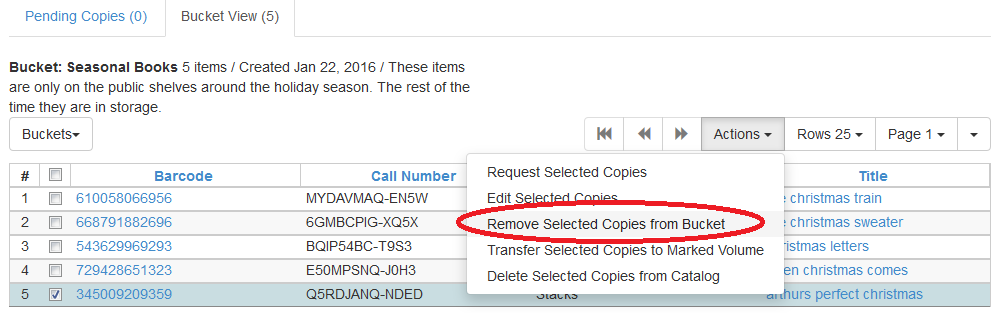
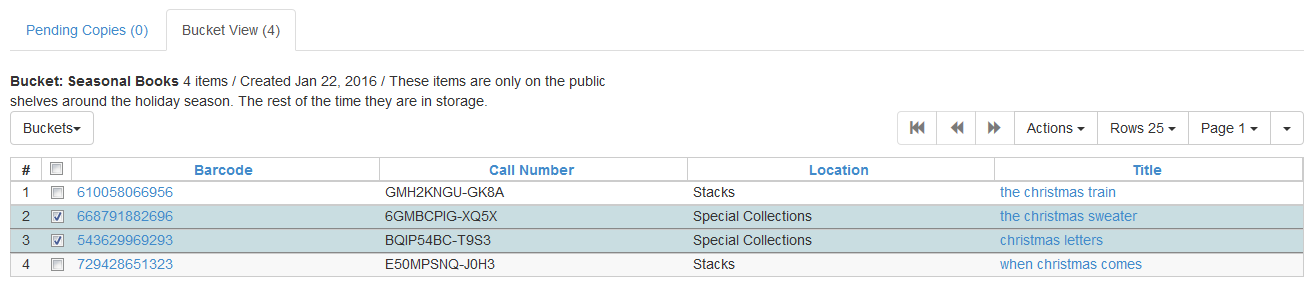
Open the Copy Bucket interface. By default you are on the Bucket View tab.
From the drop down menu select the bucket containing the item(s) you would like to remove.
From the drop down menu select Remove Selected Copies from Bucket.
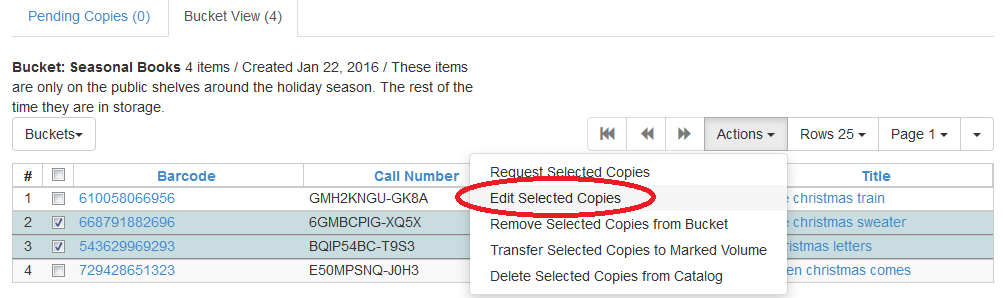
Open the Copy Bucket interface. By default you are on the Bucket View tab.
From the drop down menu select the bucket containing the item(s) you would like to edit.
From the drop down menu select Edit Selected Copies.
The Copy Editor will open in a new tab. Make your edits and then click Save and Exit.
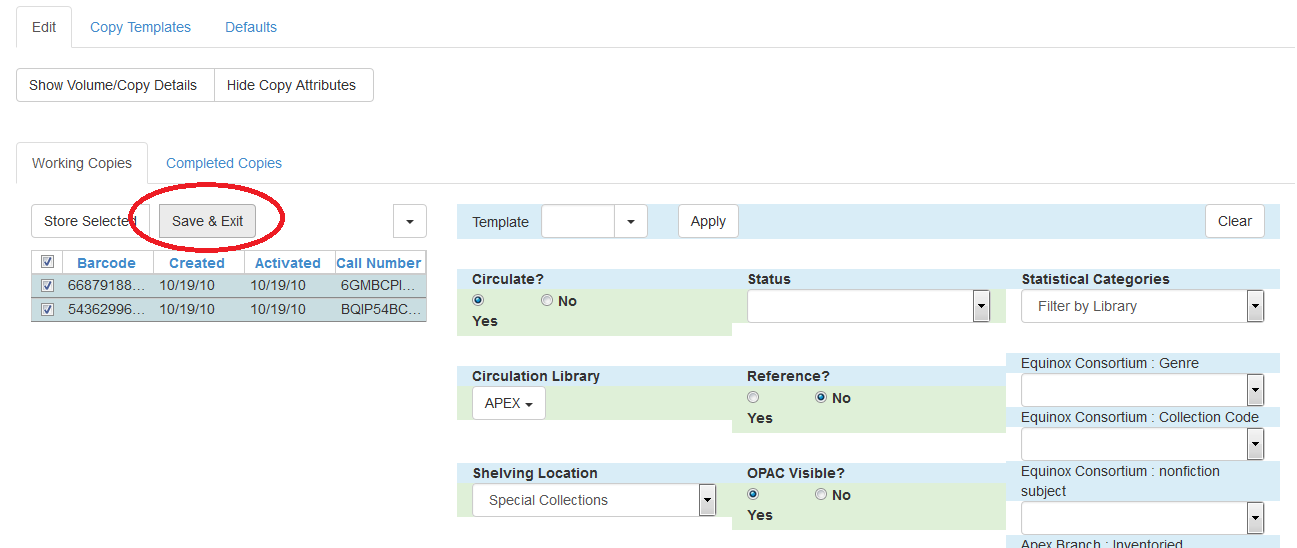
Your items have been updated.
Open the Copy Bucket interface. By default you are on the Bucket View tab.
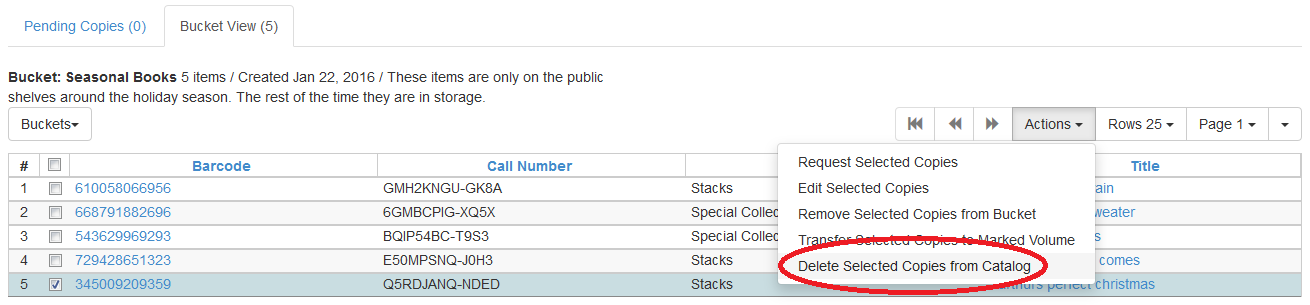
From the drop down menu select the bucket containing the item(s) you would like to delete from the catalogue.
From the drop down menu select Delete Selected Copies from Catalog.
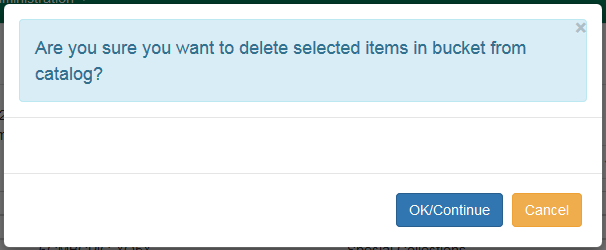
On the confirmation pop up click OK/Continue.
Open the Copy Bucket interface. By default you are on the Bucket View tab.
From the drop down menu select the bucket containing the item(s) you would like to place a hold on.
From the drop down menu select Request Seleted Copies.
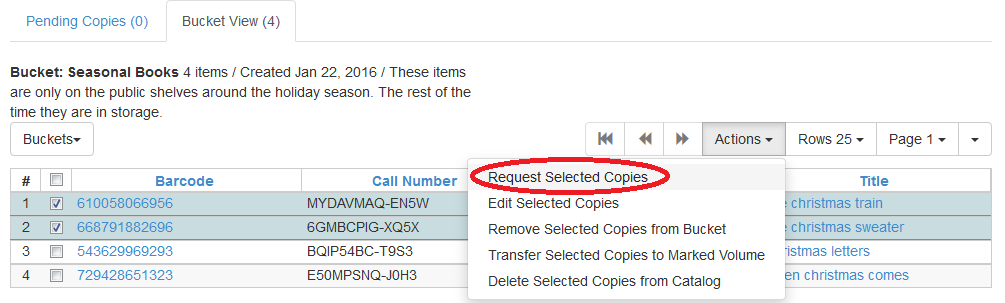
Enter the barcode for the patron who the hold is for. By default the system enters the barcode of the account logged into the client.

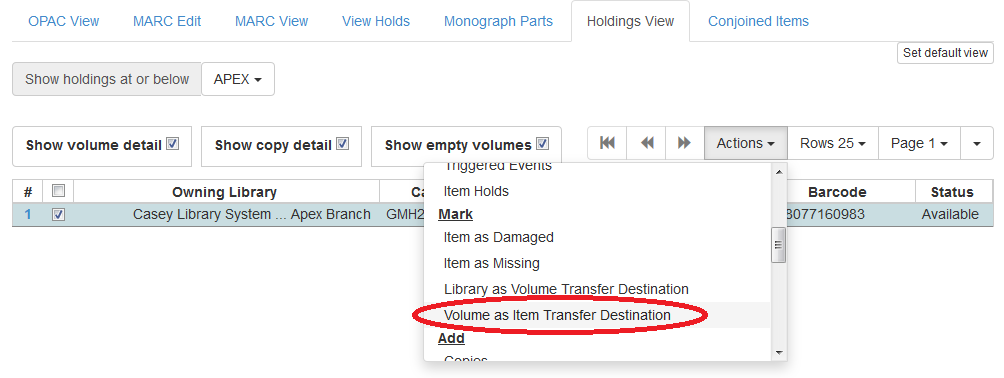
If it is not your default view click on the Holdings View tab.
From the drop down menu select Volume as Item Transfer Destination
Open the Copy Bucket interface. By default you are on the Bucket View tab.
From the drop down menu select the bucket containing the item(s) you would like to transfer to the volume.
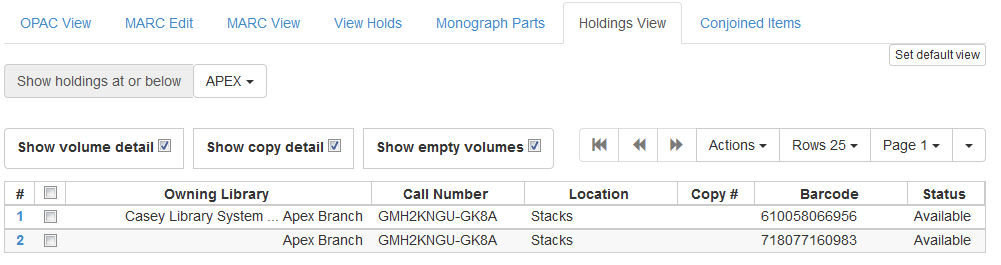
From the drop down menu select Transfer Selected Copies to Marked Volume.
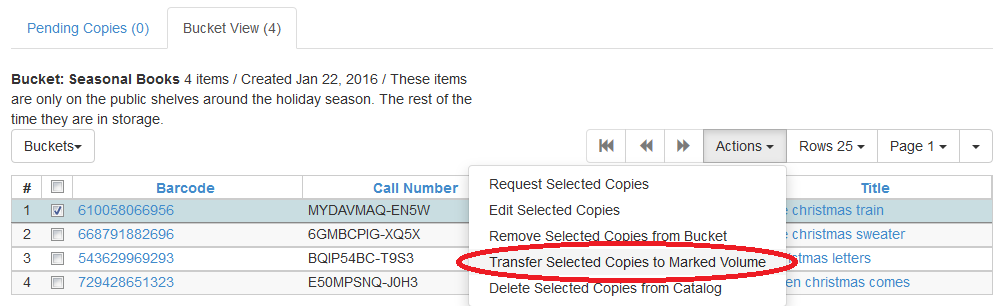
The item(s) is transferred.
To report a problem with this documentation or provide feedback, please contact the DIG mailing list.
© 2008-2015 GPLS and others. The Evergreen Project is a member of the Software Freedom Conservancy.
