| HomePrev | Chapter 100. Serials Control View | Next |
|---|
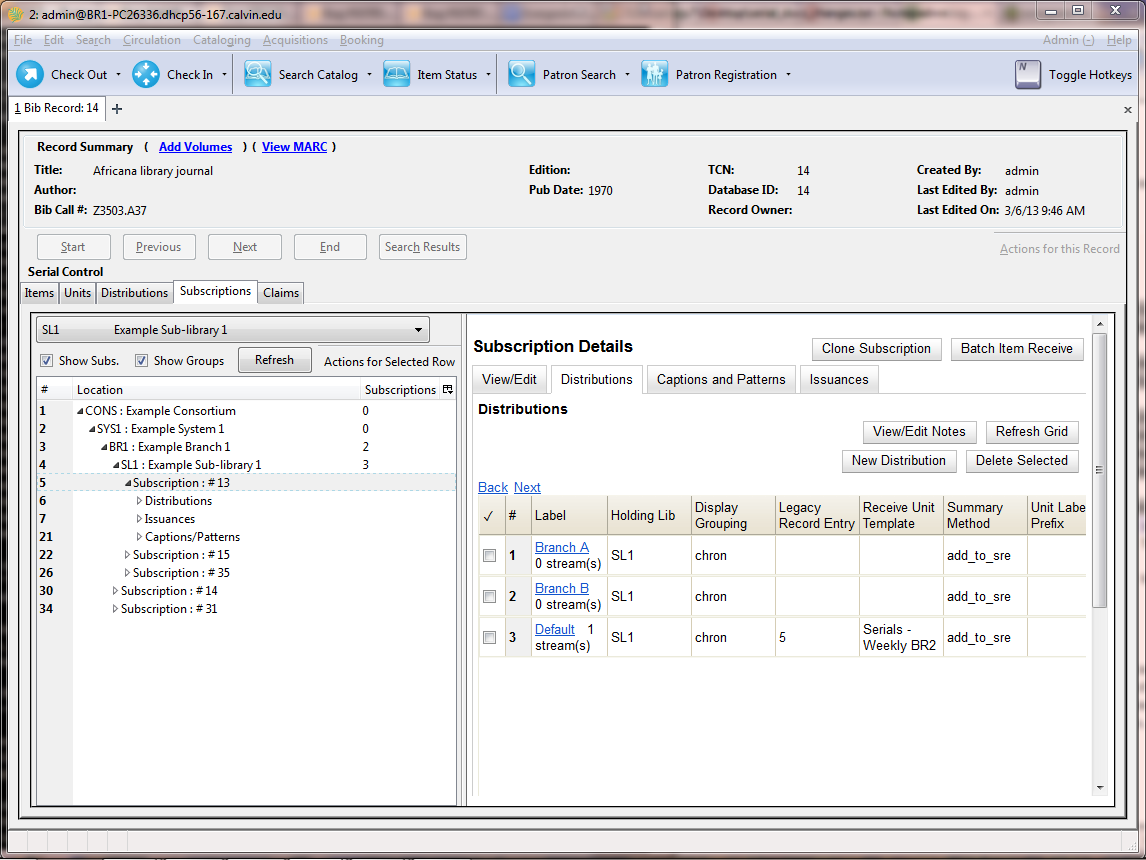
Distributions indicate the branches that should receive copies of a serial. Distributions work together with streams to indicate the number of copies that should be sent to each branch.
Select a Summary method. This determines how the Holdings Summary will treat the Legacy Record Entry (i.e. MFHD record) in relation to the Serial Control holdings data.
Label, Holding Library, and Receive Unit Template are required fields when creating a distribution.
Streams are created automatically in the Serial Control View. For information on using Streams in the combination Serial Control View, see Creating a Stream.
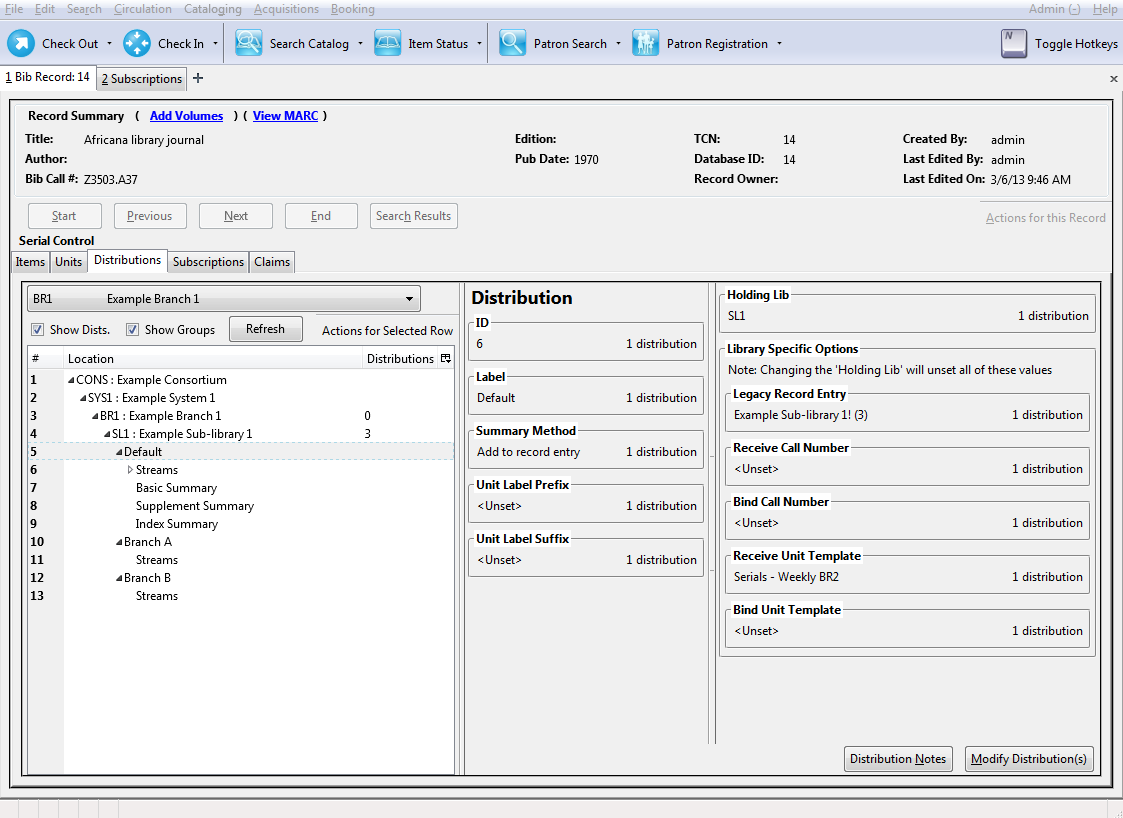
Select a Summary method. This determines how the Holdings Summary will treat the Legacy Record Entry (i.e. MFHD record) in relation to the Serial Control holdings data.
You can add notes to the distribution by clicking Distribution Notes. These notes can also be accessed from the Items tab by right-clicking on an item and choosing View Dist. Notes. Also, the Notes column in the Items tab displays the total notes of each kind (Item notes, then Distribution notes, then Subscription notes).
To report a problem with this documentation or provide feedback, please contact the DIG mailing list.
© 2008-2015 GPLS and others. The Evergreen Project is a member of the Software Freedom Conservancy.
