Using Batch Actions from Search in the Staff Interface

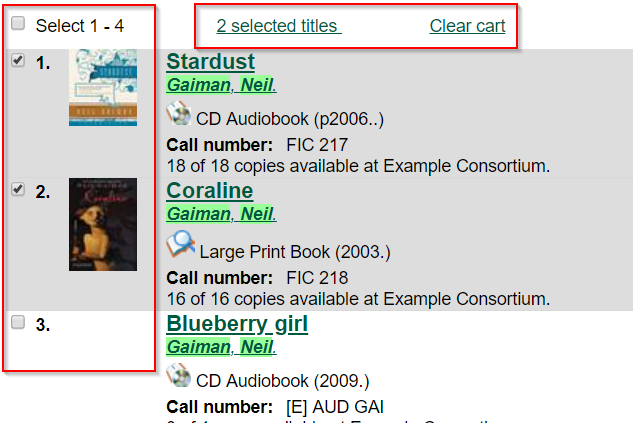
  1. Perform a search in the staff interface and retrieve a list of results.

    Checkboxes appear to the left of the number of each result. In the case of a metarecord search, checkboxes only appear on the list of metarecord constituents, as metarecords themselves cannot be placed in lists or in baskets. If you want to place the entire page of results on the list, click the Select All checkbox at the top of the results list.

  2. Select one or more titles from the results list by clicking on the checkboxes. Selected titles are automatically added to the basket. A link above the results list tracks the number of titles selected and added to the basket.

    Selecting Search Results
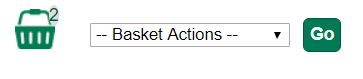
  3. The number of items can also be found with the basket icon above the search bar, next to the Basket Actions drop-down.

    Basket Actions Drop-down
  4. Click on the Basket Actions drop-down next to the basket icon to take any of the following actions on titles within the basket: View Basket, Place Hold, Print Title Details, Email Title Details, Add Basket to Saved List, Clear Basket.
Details of Basket Actions Drop-down

Actions Initiated with the Basket Actions Drop-down

  • View Basket - This opens the basket in a new screen. Checkboxes allow for the selection of one or more titles within the basket. A drop-down menu appears above the list of titles that can be used to place holds, print title details, email title details, or remove titles from the basket. This menu reads Actions for these items. (See the next section for more information about this menu.)
  • Place Hold - This allows for placement of holds in batch for all of the items in the basket. When initiated, the holds process begins for all titles within the basket. Staff can set Advanced Hold Options for each title placed on hold, as well as set the pickup location, hold notification and suspend options.
  • Print Title Details - This allows for printing details of all titles within the basket. A confirmation page opens prior to printing that includes a checkbox option for clearing the basket after printing.
  • Email Title Details - This allows for emailing details of all titles within the basket. A confirmation page opens prior to printing that includes a checkbox option for clearing the basket after printing.
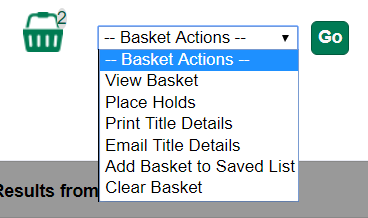
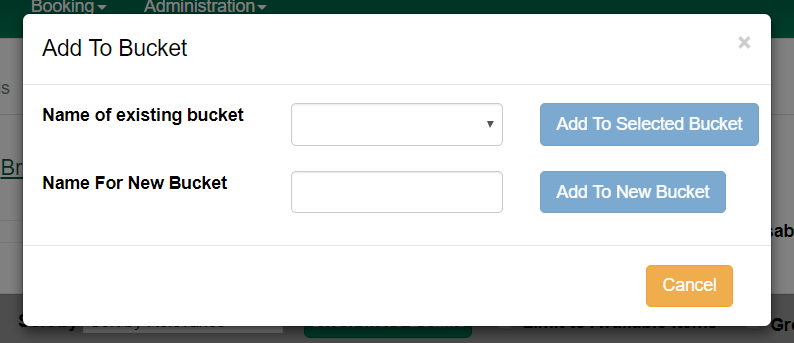
  • Add Basket to Bucket - This allows for titles within the basket to be added to an existing or new Record Bucket.

    • Click the Basket Actions drop-down and choose Add Basket to Bucket
    • To add the titles in your basket to an existing bucket, select the bucket from the Name of existing bucket dropdown and click Add to Select Bucket.
    • To add the titles in your basket to a new bucket, enter the name of your new bucket in the text box and click Add to New Bucket.

      Add Basket Titles to Bucket
  • Clear Basket - removes all items from the basket

View Basket → Actions for These Items Drop-down Menu

Most of the basket actions can be taken on titles from within the basket with the Actions for these items drop-down menu. This menu offers additional flexibility, as staff can select some or all of the individual titles within the basket on which to place holds, print or email details, or remove from the basket. Staff cannot place titles in Records Buckets from this menu.