| HomePrev | Chapter 20. Acquisitions Administration | Next |
|---|
Many libraries use Electronic Data Interchange (EDI) accounts to send purchase orders and receive invoices from providers electronically. In Evergreen users can setup EDI accounts and manage EDI messages in the admin module. EDI messages and notes can be viewed in the acquisitions module. See also the command line system administration manual, which includes some initial setup steps that are required for use of EDI.
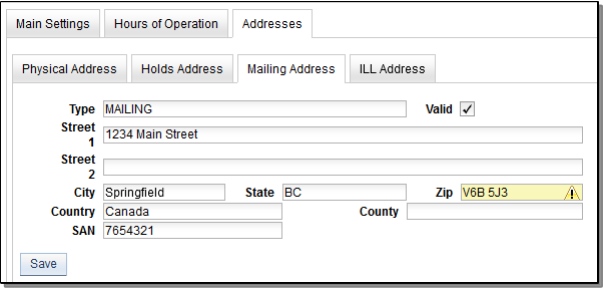
For EDI to work your library must have a SAN and each of your providers must each supply you with their SAN.
A SAN (Standard Address Number) is a unique 7 digit number that identifies your library.
These steps only need to be done once per library.
Find your library in the tree on the left side of the page and click on it to open the settings.
Multi-branch library systems will see an entry for each branch but should select their system’s top organization unit.
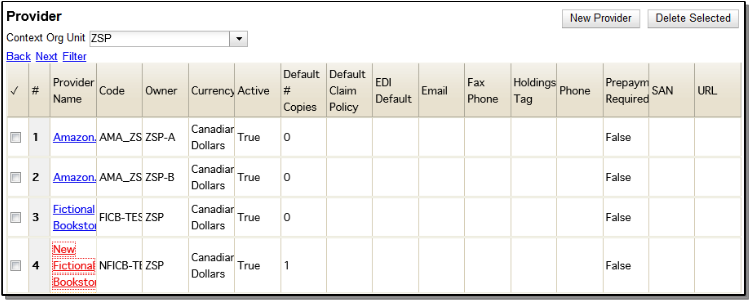
These steps need to be repeated for every provider with which EDI is used.
Click the hyperlinked name of the provider you would like to edit.
Click Save.
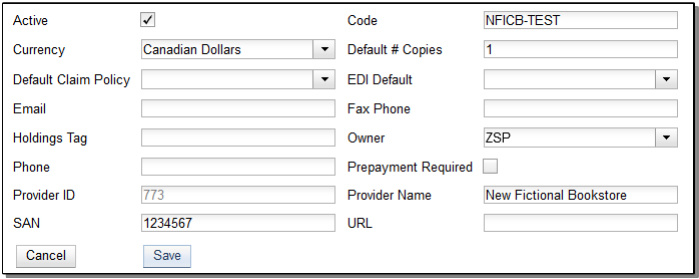
You must create your provider before you create an EDI account for the provider.
Contact your provider requesting the following information:
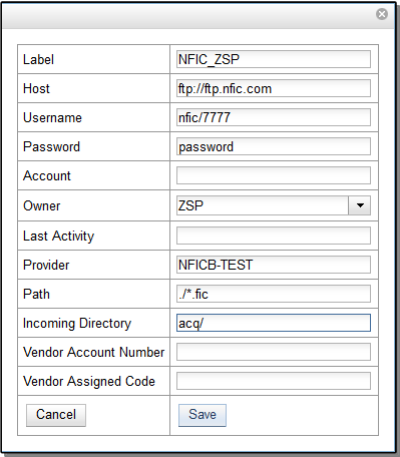
Click New Account. A pop-up will appear.

Fill in the following fields:
ftp://ftp.vendorname.com)
In the Path field, enter the path supplied by your provider. The path indicates a directory on the provider’s server where Evergreen will deposit its outgoing order files.
If your vendor requests a specific file extension for EDI purchase orders,
such as .ord, enter the name of the directory, followed by a slash,
followed by an asterisk, followed by a period, followed by the extension.
For example, if the vendor requests that EDI purchase orders be sent to
a directory called in with the file extension .ord, your path would
be in/*.ord.
In the Incoming Directory field, enter the incoming directory supplied by your provider. This indicates the directory on the vendor’s server where Evergreen will retrieve incoming order responses and invoices.
Don’t worry if your incoming directory is named out or outgoing.
From your vendor’s perspective, this directory is outgoing, because
it contains files that the vendor is sending to Evergreen. However,
from Evergreen’s perspective, these files are incoming.
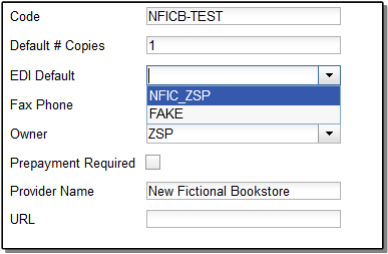
Click on the link in the Provider field.

Select the EDI account that has just been created from the EDI Default drop down menu.
The EDI Messages screen displays all incoming and outgoing messages between the library and its providers. To see details of a particular EDI message, including the raw EDIFACT message, double click on a message entry. To find a specific EDI message, the Filter options can be useful. Outside the Admin interface, EDI messages that pertain to a specific purchase order can be viewed from the purchase order interface (See Acquisitions → Purchase Orders).
To report a problem with this documentation or provide feedback, please contact the DIG mailing list.
© 2008-2015 GPLS and others. The Evergreen Project is a member of the Software Freedom Conservancy.
