Chapter 40. Customizable Toolbar
By default, two toolbars are available in the staff client: circulation and
cataloging. This feature enables you to customize toolbars in the staff client.
You can create toolbars for specific org unit(s), workstation(s), or login(s).
-
Click Admin → Workstation Administration → Toolbars → Configure
Toolbars.
-
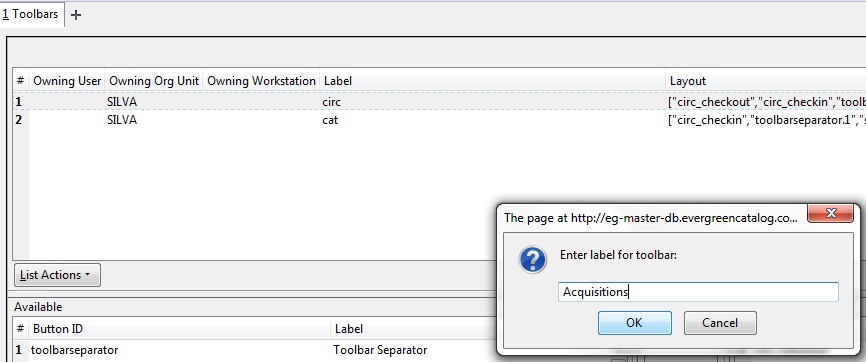
Click New Toolbar.
Enter label for toolbar.
-
Click Ok.
-
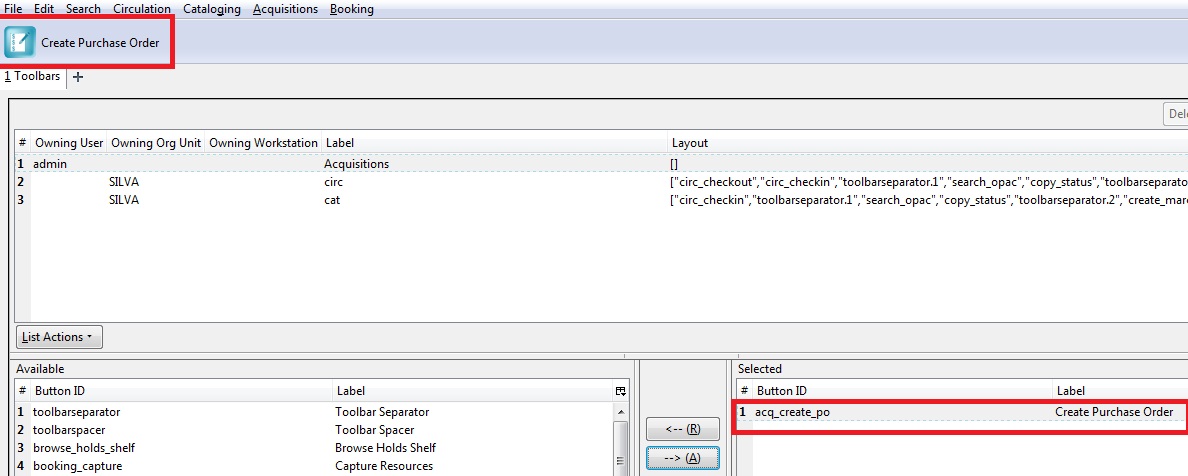
Select one of the buttons in the Available panel. The Button ID describes
that action that the button will take, and the Label will display in the
toolbar.
Click the --> (A) button to add the selected function to the
Selected panel on the bottom right side of the screen. To remove a button,
click the <-- (R) button.
-
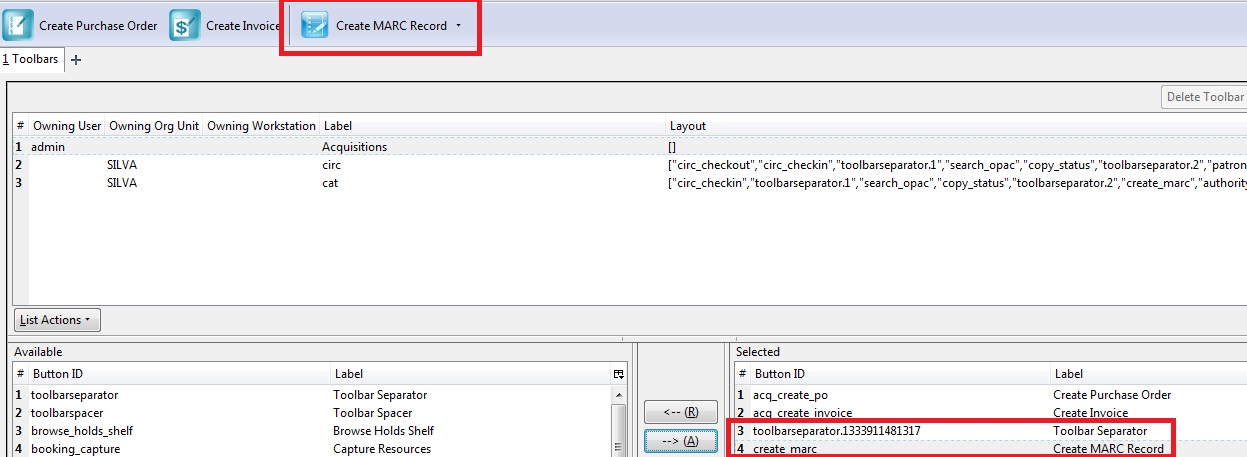
Continue adding buttons if desired. The buttons will display in the order that you add
them. If you want to reorder the buttons, click the Up or Down buttons.
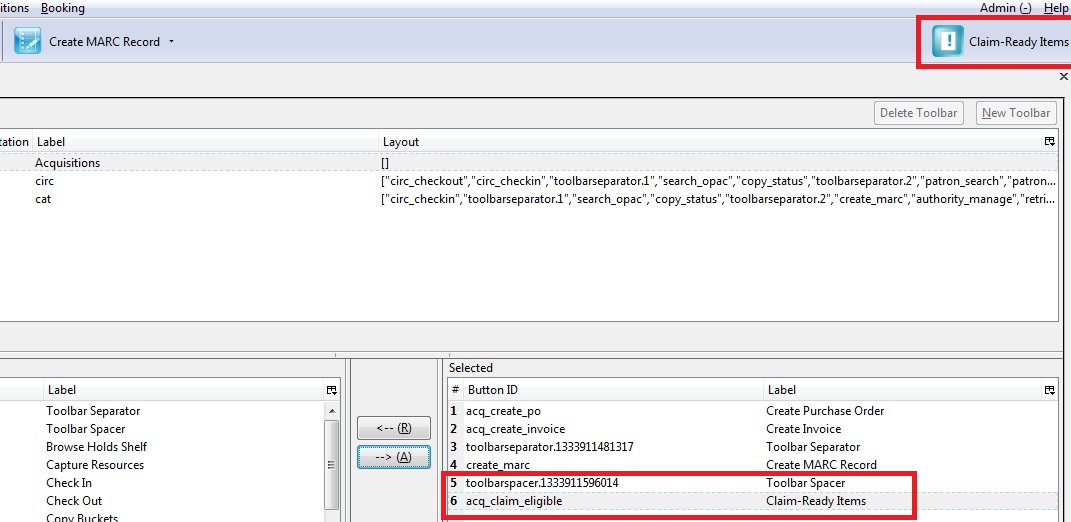
To separate buttons onto left and right sides of the screen on the same
toolbar, select toolbarspacer, and click --> (A).
To add a dividing line between buttons that appear on the same side of the
screen, select toolbarseparator, and click --> (A).
-
At the bottom of the screen, choose the owner of this toolbar.
If you click Owning Org Unit, then the owning org unit that you specify will display this
toolbar. Select the owning org unit from the drop down menu. The rule of
parental inheritance applies, so all child units will inherit the toolbars of
their parental units.
If you click Owning Workstation, then the workstation to which you are logged
in when you created the toolbar will display this toolbar.
If you select Owning User, then your login has access to that toolbar.
-
When you are finished creating the toolbar, click Save Toolbar. Any
toolbar to which you have access displays under Admin → Workstation
Administration → Toolbars → Current.
Permissions
ADMIN_TOOLBAR - Allow a user to create, edit, and delete custom toolbars


