| HomePrev | Chapter 112. Circulation - Patron Record | Next |
|---|
When a patron account has bills attached to it, a note displays under the patron name in the patron summary panel.
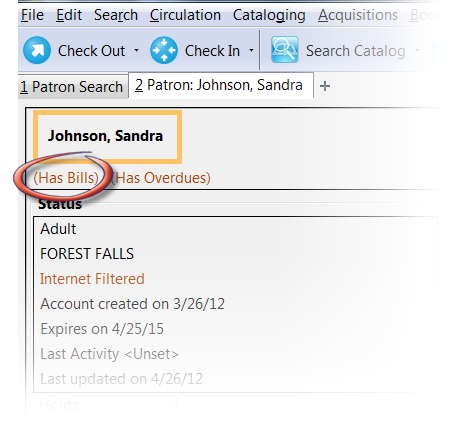
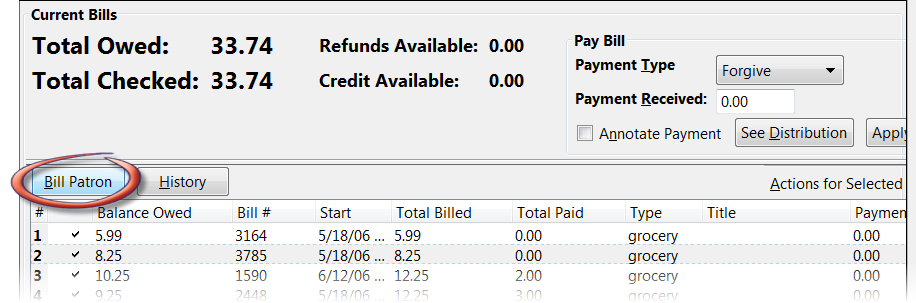
To view more information about the patron’s bills, or to make payments on or edit the bills, click on the Bills button from the patron account screen.

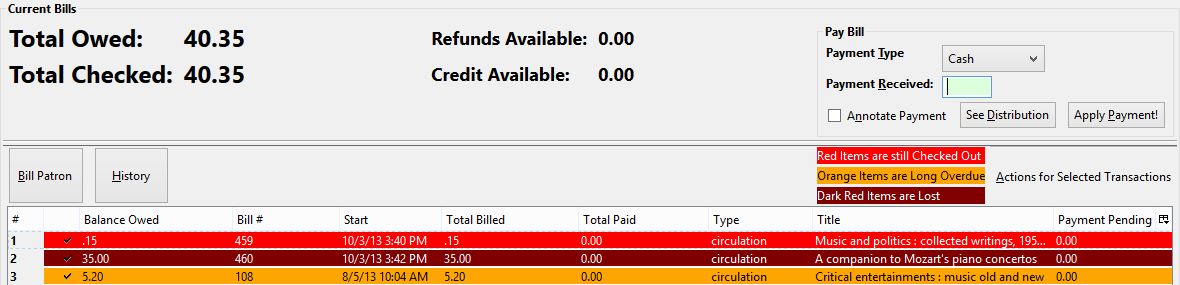
All current bills are itemized in the grid in the bills interface. Click on a column header to sort bills in this grid. Most columns sort alphabetically, but the "Total Billed" and Total Paid columns sort numerically.
Colors distinguish bills for items that are attached to checked out, lost and long overdue circulations. These colors are accompanied by helpful indicators that define the meaning of the colors for staff.
By default, circulations that are still checked out appear in bright red. The default indicator reads, "Red Items are still Checked out.
Lost circulations will appear in dark red. The default indicator reads, “Dark Red Items are Lost.”
When the 6 Month Overdue Mark Long-Overdue trigger event definition is enabled, Long Overdue circulations will appear in orange, by default. The default indicator reads, “Orange Items are Long Overdue.”
Both the color distinctions and indicators are customizable. To customize, a change to circ.css (for the color) and lang.dtd (for the indicator) are required.
Circulation bills: system-generated (overdue fines, lost item cost, processing fees, etc.).
Grocery bills: staff-applied to patron accounts.
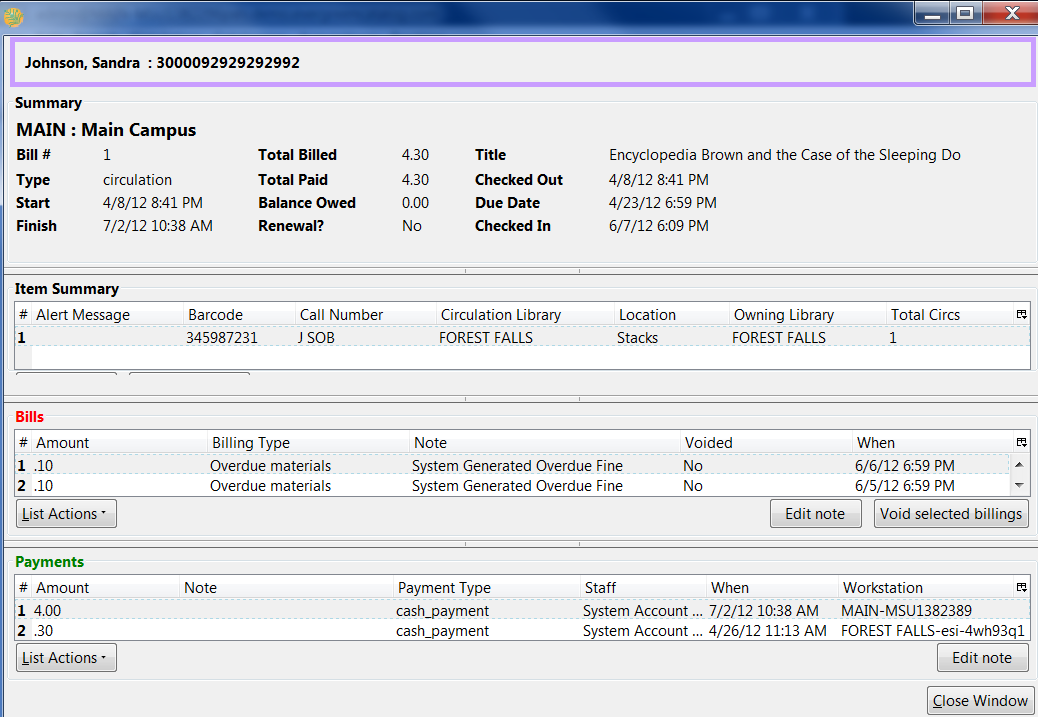
To view more information about a bill, highlight the bill and right-click or use the Actions for Selected Transactions menu to select Full Details.
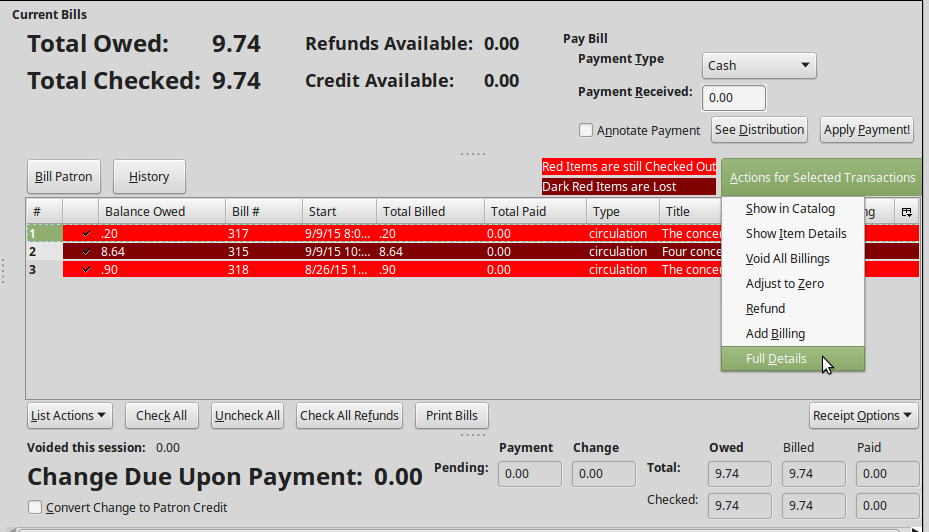
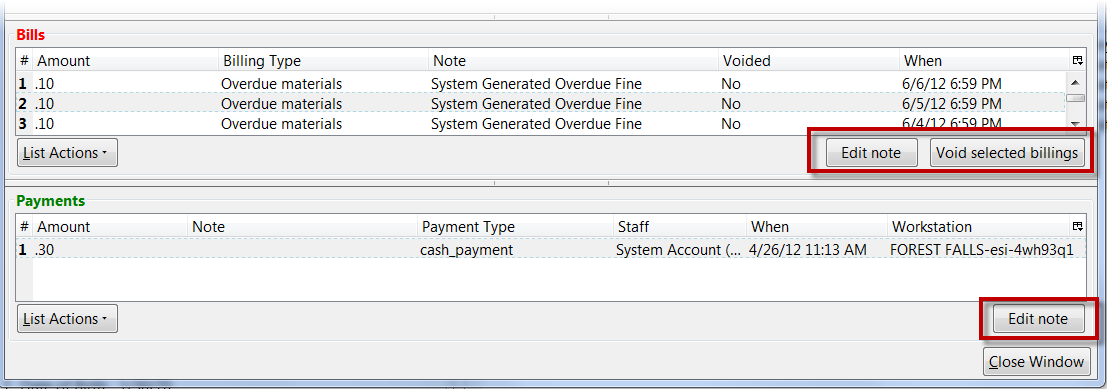
A window will display additional information about the bill, including a record of any payments that have been made on the bill.

From the Full Details screen, portions of the bill may be voided (e.g. an erroneous daily overdue charge) by using the Void selected billings button. Notes may be added to payments or line items by using the Edit note button.
To collect payments, retrieve the patron record. Navigate to the Bills screen as described in Bills and Payments.
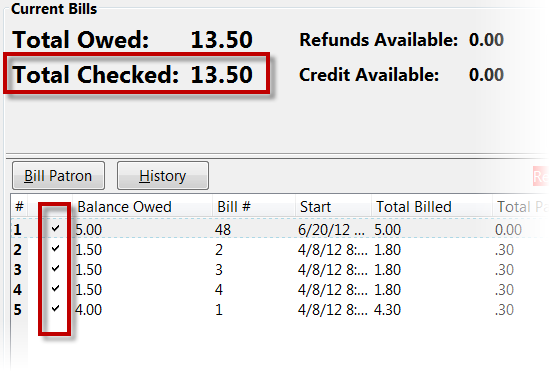
When bills are paid, the money applied starts at the top of the list of bills. To pay specific bills, uncheck the bills that you do not wish to pay at this time. The amount displayed in Total Checked: will change to reflect the appropriate amount.
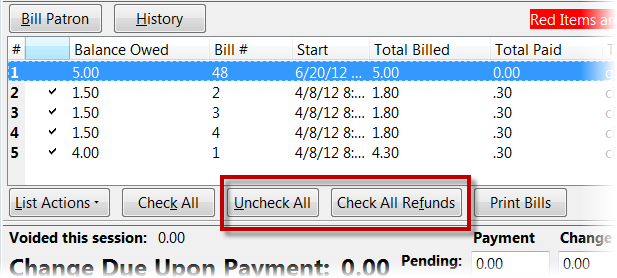
By default, Evergreen checks all bills when the bills screen loads. Evergreen sites can change this default by enabling the Uncheck bills by default in the patron billing interface setting in the Library Settings Editor (Admin → Local Administration → Library Settings Editor). Note the presence of the Uncheck All and Check All options below the list of bills.
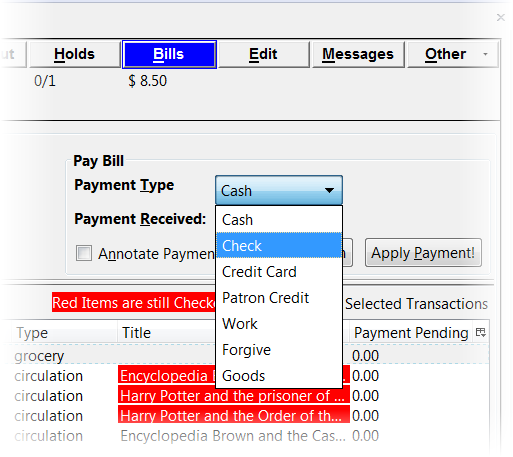
When you are ready to make a payment, select a payment type from the dropdown menu in the Pay Bill portion of the screen.
Enter the amount of payment in the Payment received field.
If you would like to add a note to the payment, check the box for Annotate Payment.
Click Apply Payment! to make the payment.
If you have selected Annotate Payment, a box will display for the annotation.
The screen will refresh to display the updated bill information for the patron. If change is due, the bottom portion of the screen, Change Due Upon Payment: will briefly reflect the amount due to the patron.
if you need more time to review the amount due, click outside the Payment Received box before selecting Apply Payment! This will cause the screen to refresh and display the amount due.
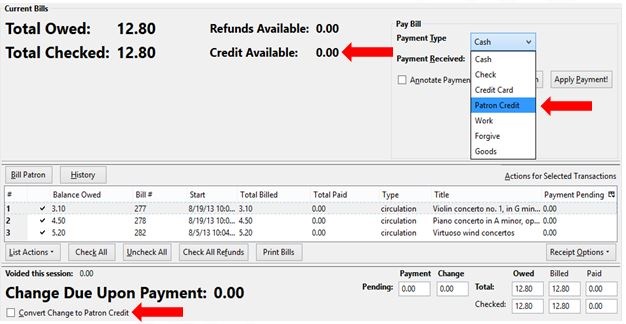
It is possible to convert change due to a patron credit by selecting the Convert Change to Patron Credit checkbox and to later apply that credit to a bill by selecting the Patron Credit payment type.
By default, the payment type Patron Credit is enabled in the staff client. Within the Bills interface of a patron’s account, the Patron Credit payment type, the Credit Available, and the option to Convert Change to Patron Credit are exposed by default in the staff client.
The Library Setting, Disable Patron Credit, allows staff to disable the Patron Credit payment type and to hide patron credit payment actions within the billing interface of a patron’s account. If a library doesn’t use patron credits, the library will want to enable this setting to prevent accidental selection of the checkbox that converts change to patron credit.
When the Library Setting, Disable Patron Credit, is set to True, the patron credit payment type will be disabled. Patron Credit will not be an option within the payment type dropdown menu. The Convert Change to Patron Credit and the summary of Credit Available will be hidden from the patron billing interface in the staff client.

To set the Library Setting:
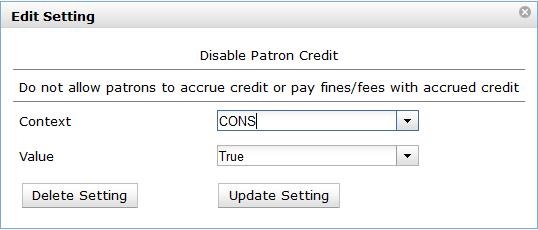
After applying changes to this library setting, it is necessary to restart the staff client to see the changes take effect.
The following are guidelines for using void, forgive, and adjust when clearing bills off a patron record.
Choose forgive as the payment type as described in the section Making Payments.
Enter the amount to be forgiven. Choose Annotate Payment as required by local policy.
Apply Payment. Annotate, if prompted.
The screen will refresh to display the payment.
Bills under one transaction are grouped in one bill line. Bills may be voided in part or in whole.
To void the full billing amount:
Select the bill(s) to be voided from the list in the patron account.
Right click or use the Actions for Selected Transactions menu to select Void All Billings.
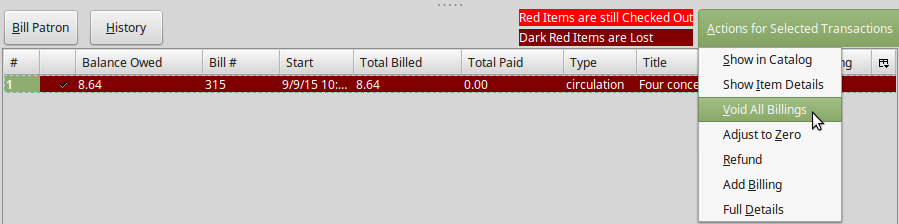
Confirm the action.
To void a partial amount:
Select a billing and choose Full Details for the transaction, as described in the section <circ_vs_grocery,Circulation vs. Grocery Bills>>
The bill details screen displays.
Select the specific bill to void.
Void Selected Billings and confirm the action.

In the Bills interface, select the bill to adjust.
Right click or use the Actions for Selected Transactions menu to select Adjust to Zero.
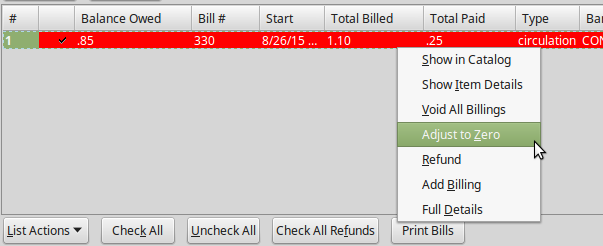
Confirm the action.
A grocery bill can be added as a new bill or to an existing bill.
To add a as a new bill:
Click the_Bill Patron_ button above the list of current bills.
Choose appropriate Billing Type from the drop down menu. (“Grocery” is the. only available transaction type.) . Enter the Amount and Note (as required). . Submit this Bill and confirm this action.

To add bill to an existing bill line:
If a library has not enabled Prohibit Negative Balance settings via the library settings editor, certain workflows and settings can create a negative balance on a patron’s account. See…for information on settings that affect negative balances.
Removing negative balances from a patron account
A negative balance can be cleared either by refunding a bill or by adjusting the bill to zero.
To refund the bill:
The refunded amount will be deducted from the cash_payment total in the workstations Cash Report.
To clear the negative balance without affecting the Cash Report:
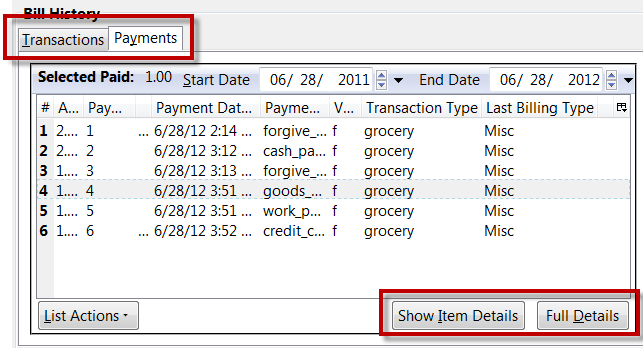
To view a patron’s bill history:
A Bill History screen with two tabs will display. One for Transactions and one for Payments.
Items may be deleted from the catalog even if a charge for that item is still attached to the patron’s record. The charge will remain on the patron’s account after the deletion.
To report a problem with this documentation or provide feedback, please contact the DIG mailing list.
© 2008-2015 GPLS and others. The Evergreen Project is a member of the Software Freedom Conservancy.
