| HomePrev | Part X. Serials | Next |
|---|
Table of Contents
You can receive either through the Serials Control View or in Batch Receive with the simple or advanced interface.
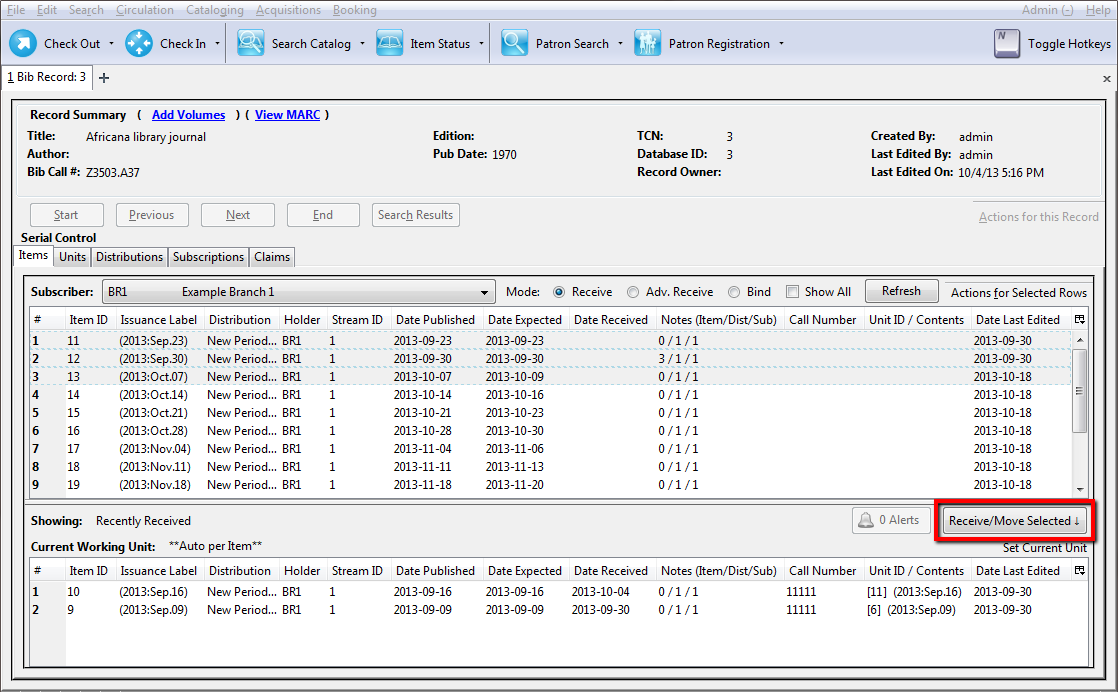
Select the current working unit. Click Set Current Unit, located in the lower right corner of the screen. A drop down menu will appear.
After receiving items, you can view the updated holdings in the OPAC.
The total number of notes for each item is displayed in the "Notes" column in the Items tab. The column header says "Notes (Item/Dist/Sub)" to explain how the numbers are organized in the column: First is the total number of Item Notes on that item, second is the number of Distribution Notes for that item’s distribution, and last is the number of Subscription Notes on that item’s subscription. To view and modify any of these notes, right-click on an item and click View Sub. Notes, View Dist. Notes or View Item Notes.
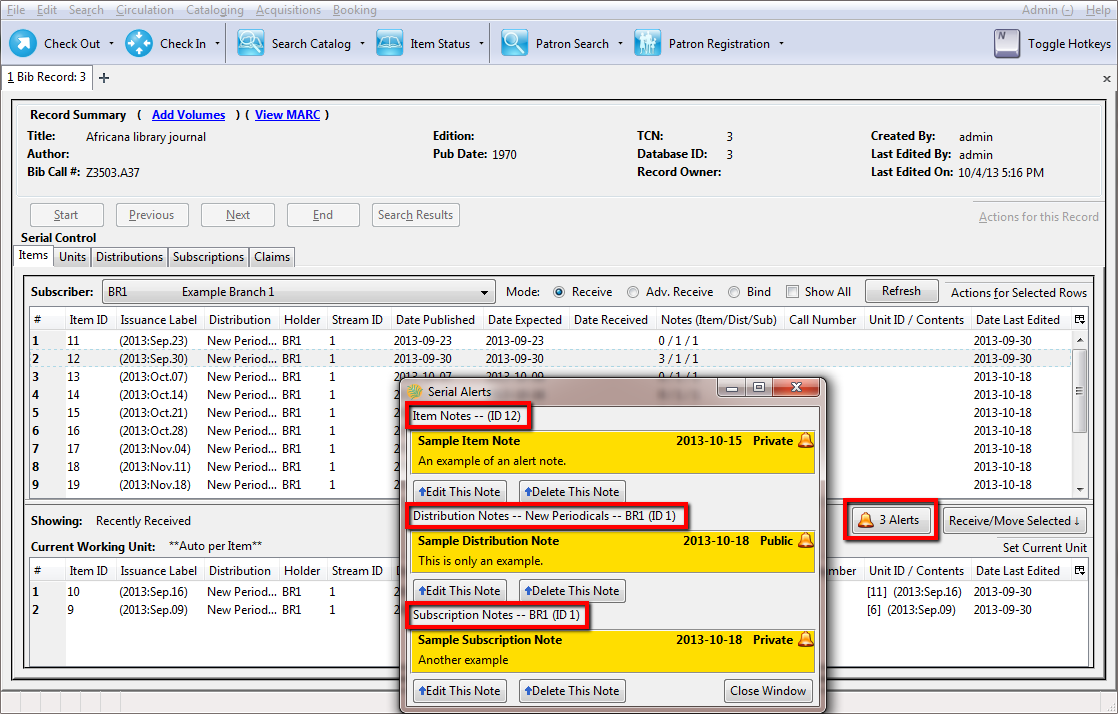
In the Serial Control View, you can now flag a note as an "alert" to make it more visible on the receiving interface. This flag is available as a checkbox on subscription, distribution and item notes. The new Alerts button on the Items tab displays the number of alert notes that are available for the selected items, and clicking this button opens a window which displays all applicable alert notes, sorted by type. Notes can also be edited or deleted from this window.
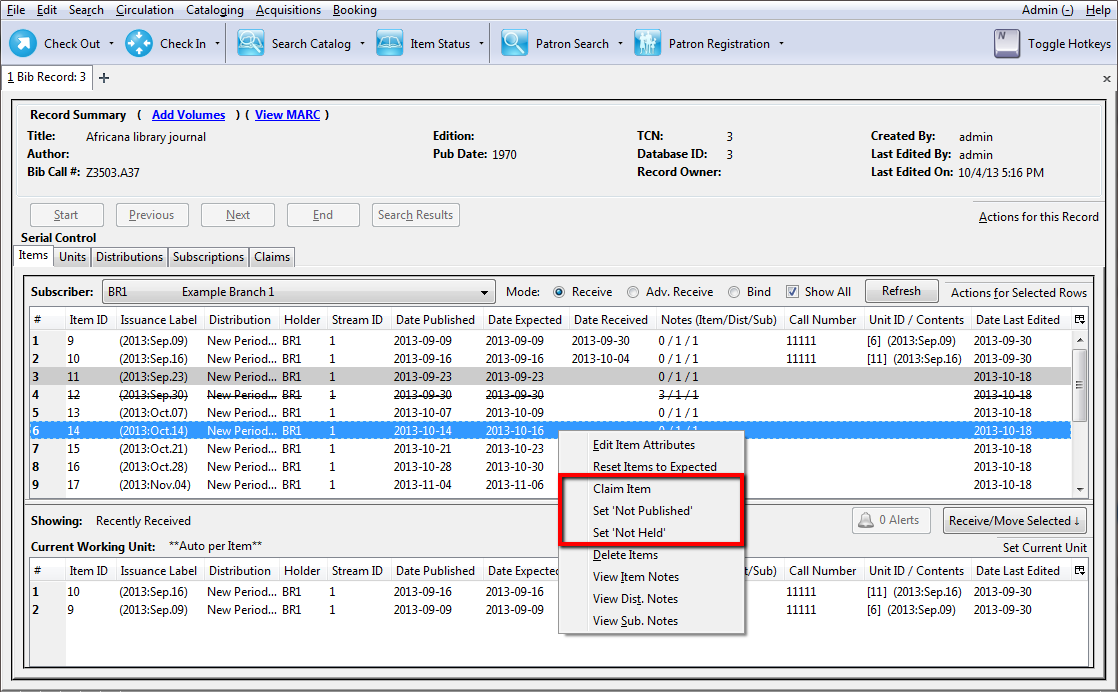
The Serial Control interface prevents direct editing of serial item statuses for data integrity reasons. As an alternative to direct control, the interface offers menu options for setting items to claimed, not held, and not published. Note that these statuses are still currently useful for reporting and display purposes only. The claimed status changes the display but does not yet connect with the Acquisitions module in any way. Also note that, once you set an item to not held or not published, that item will be hidden from the list unless you check the Show All checkbox.
To report a problem with this documentation or provide feedback, please contact the DIG mailing list.
© 2008-2015 GPLS and others. The Evergreen Project is a member of the Software Freedom Conservancy.
