| HomePrev | Part IX. Cataloging | Next |
|---|
Table of Contents
Monograph Parts enables you to differentiate between parts of monographs or other multi-part items. This feature enables catalogers to describe items more precisely by labeling the parts of an item. For example, catalogers might identify the parts of a monograph or the discs of a DVD set. This feature also allows patrons more flexibility when placing holds on multi-part items. A patron could place a hold on a specific disc of a DVD set if they want to access a specific season or episode rather than an entire series.
Four new permissions are used by this functionality:
These permissions should be assigned at the consortial level to those groups or users that will make use of the features described below.
To add a monograph part to an existing record in the catalog:
Click the Manage Parts tab.
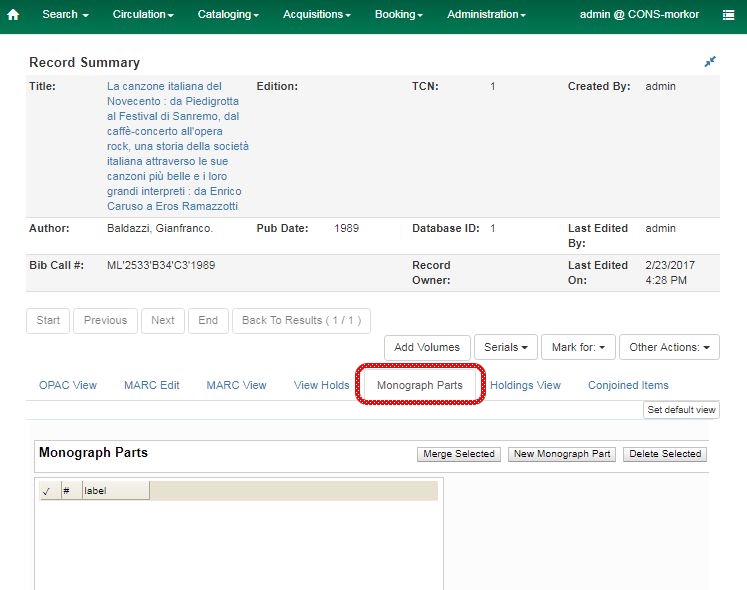
Enter the label that you want to appear to the user in the catalog, and click Save. This will create a list of monograph parts from which you can choose when you create a volume and copy.

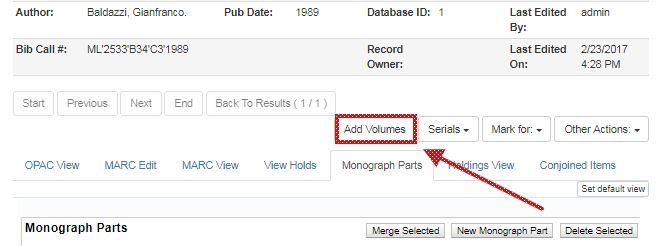
Add a volume and copy. To add a volume and copy to your workstation library, click the Add Volumes button in the Record Summary area above the tabs.
To add a volume and copy to your workstation library or other libraries, click the Holdings View tab, right-click the appropriate library, and choose Add → Volumes and Copies.
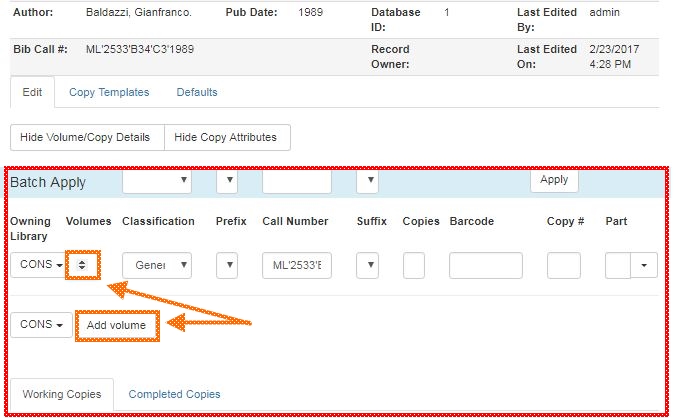
Choose the part label from the Part drop down menu.
Apply a template to the copies, or edit fields in the Working Copies section below.
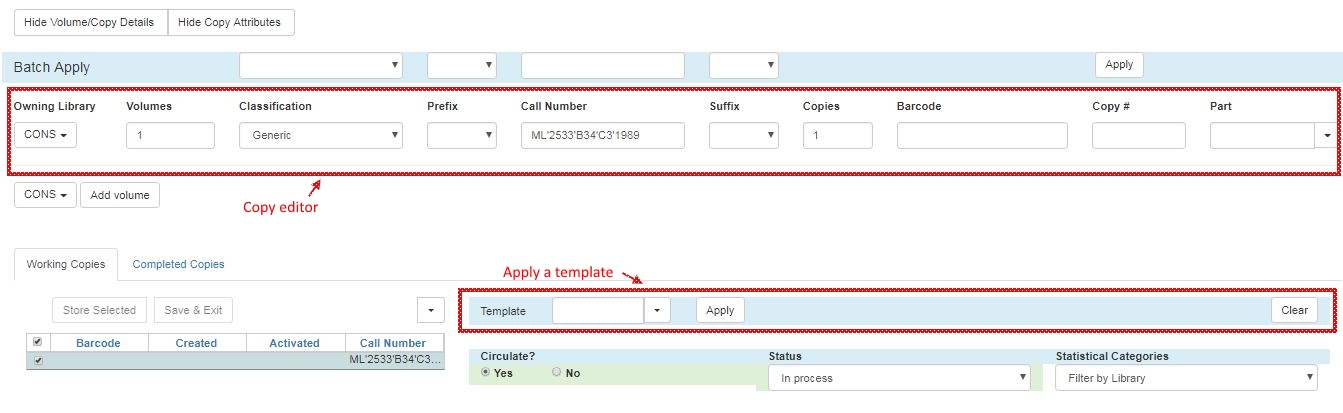
When all copies have been stored and reviewed, click "Save & Exit".
If you are only making one set of changes, you can simply click Save & Exit and skip the Store Selected stage.
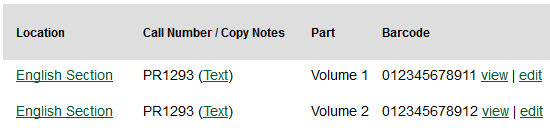
The Holdings View tab now shows the new part information. These fields also appear in the OPAC View.
To report a problem with this documentation or provide feedback, please contact the DIG mailing list.
© 2008-2015 GPLS and others. The Evergreen Project is a member of the Software Freedom Conservancy.
