| HomePrev | Part IX. Cataloging | Next |
|---|
Table of Contents
Monograph Parts enables you to differentiate between parts of monographs or other multi-part items. This feature enables catalogers to describe items more precisely by labeling the parts of an item. For example, catalogers might identify the parts of a monograph or the discs of a DVD set. This feature also allows patrons more flexibility when placing holds on multi-part items. A patron could place a hold on a specific disc of a DVD set if they want to access a specific season or episode rather than an entire series.
Four new permissions are used by this functionality:
These permissions should be assigned at the consortial level to those groups or users that will make use of the features described below.
To add a monograph part to an existing record in the catalog:
Click the Manage Parts tab.
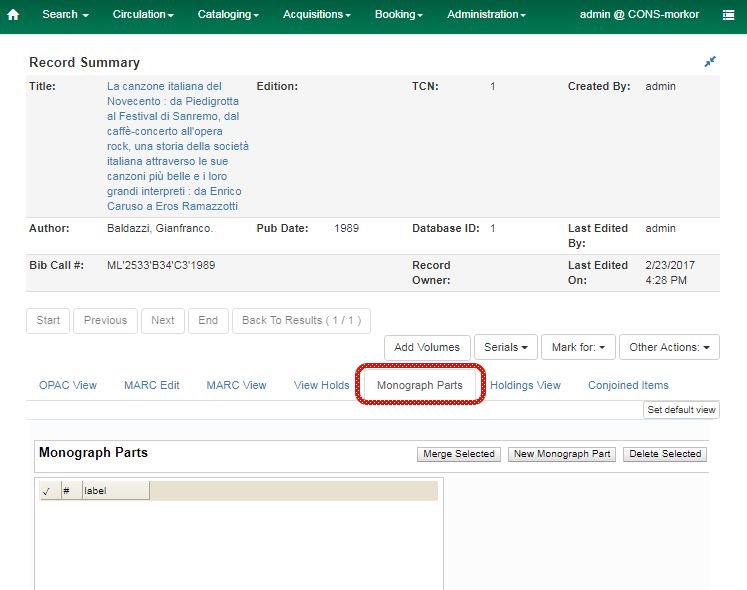
Enter the label that you want to appear to the user in the catalog, and click Save. This will create a list of monograph parts from which you can choose when you create holdings.

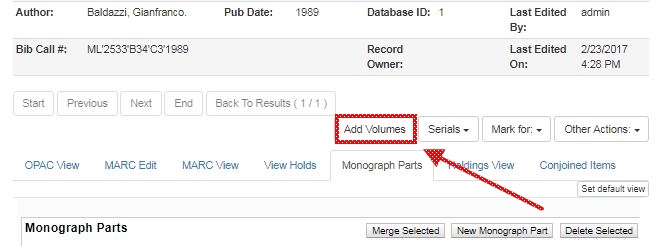
Add holdings. To add holdings to your workstation library, click the Add Holdings button in the Record Summary area above the tabs.
To add holdings to your workstation library or other libraries, click the Holdings View tab, right-click the appropriate library, and choose Add → Call numbers and Items.
Choose the part label from the Part drop down menu.
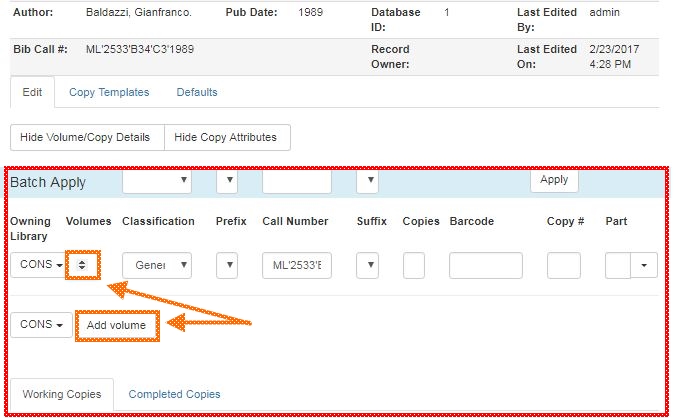
Apply a template to the items, or edit fields in the Working Items section below.
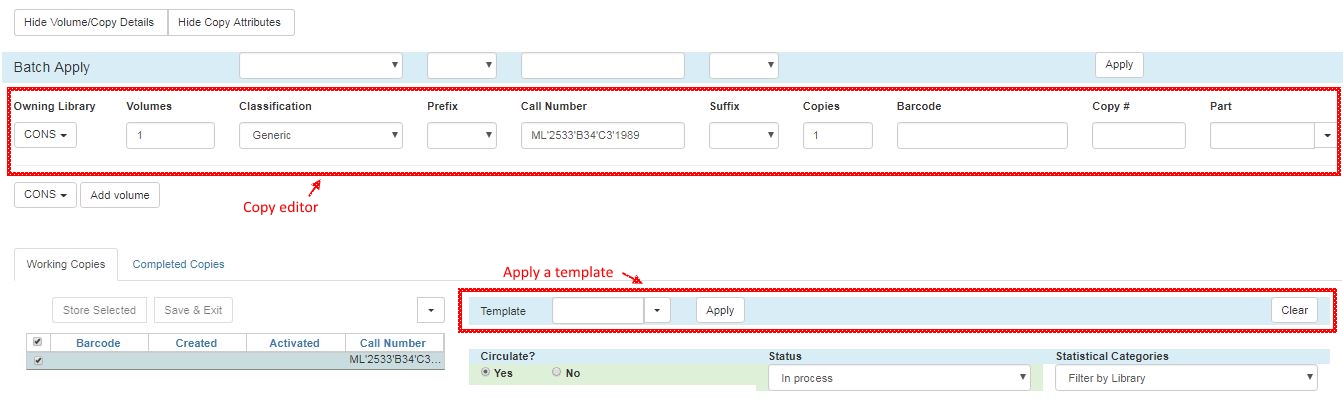
When all items have been stored and reviewed, click "Save & Exit".
If you are only making one set of changes, you can simply click Save & Exit and skip the Store Selected stage.
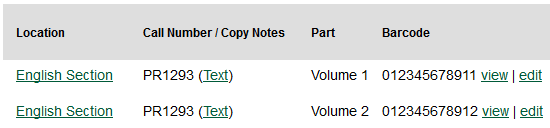
The Holdings View tab now shows the new part information. These fields also appear in the OPAC View.
To report a problem with this documentation or provide feedback, please contact the DIG mailing list.
© 2008-2015 GPLS and others. The Evergreen Project is a member of the Software Freedom Conservancy.
