| HomePrev | Part IX. Booking Module | Next |
|---|
Table of Contents
Only staff members may create reservations. A reservation can be started from a patron record, or a booking resource. To reserve catalogued items, you may start from searching the catalogue, if you do not know the booking item’s barcode.
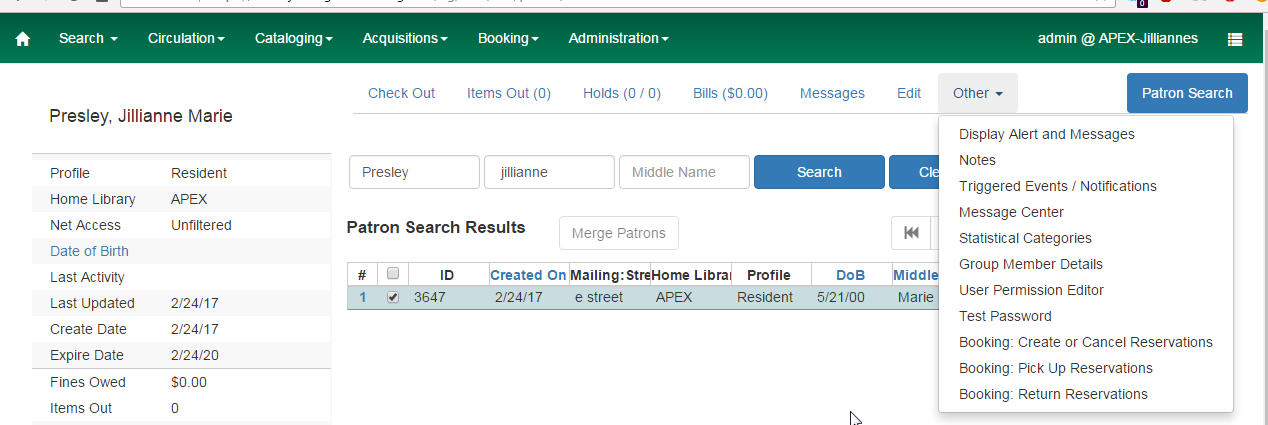
1) Retrieve the patron’s record.
2) Select Other -→ Booking -→ Create or Cancel Reservations. This takes you to the Reservations Screen.
3) For non-catalogued items, choose a Bookable Resource Type and click Next. For catalogued items, enter the barcode in Enter the barcode of a catalogued, bookable resource box, then click Next beside the box.
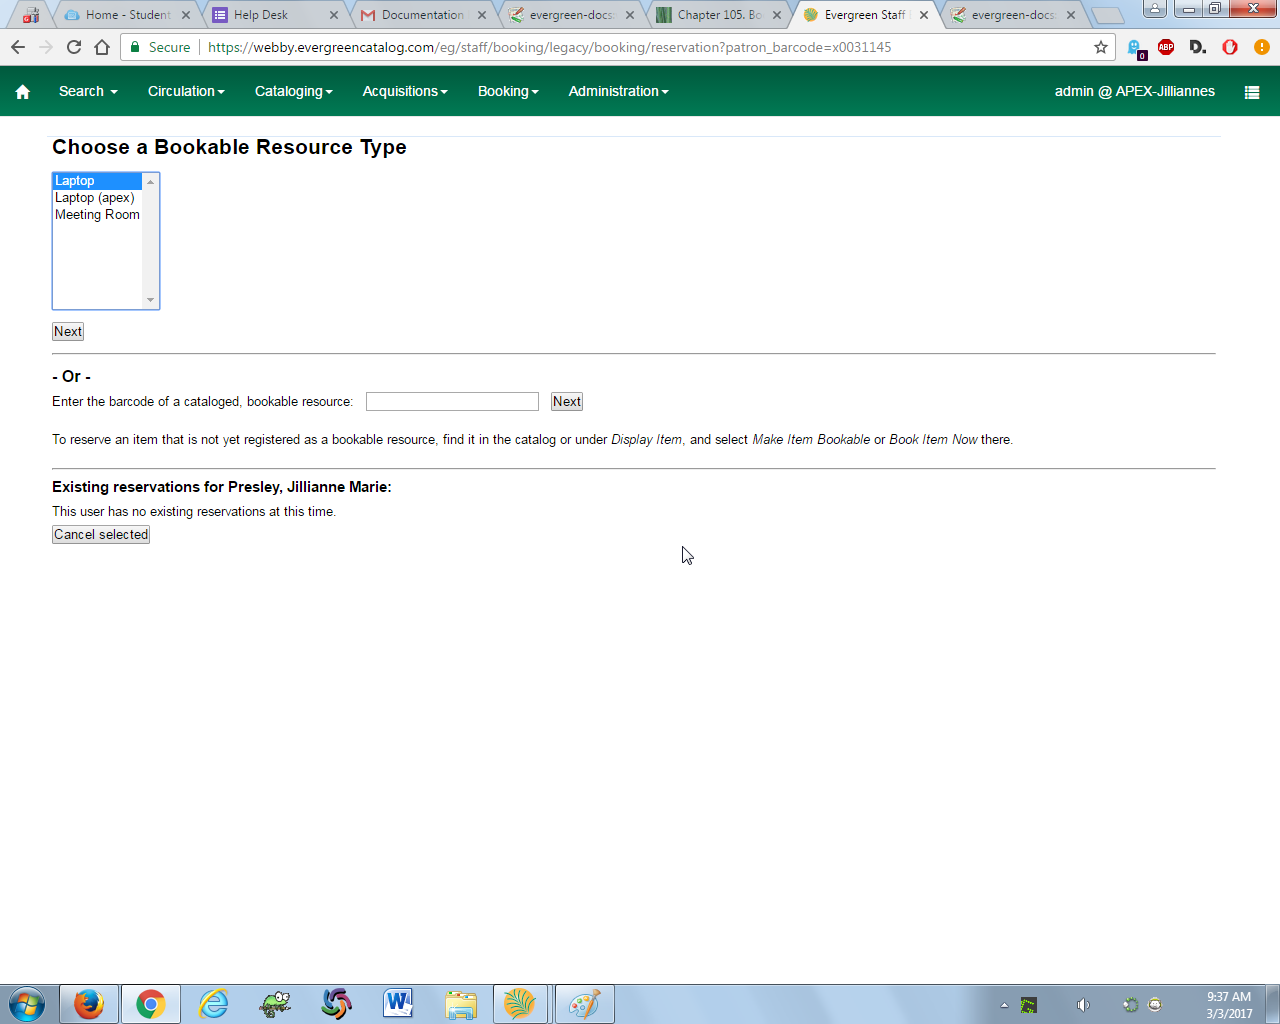
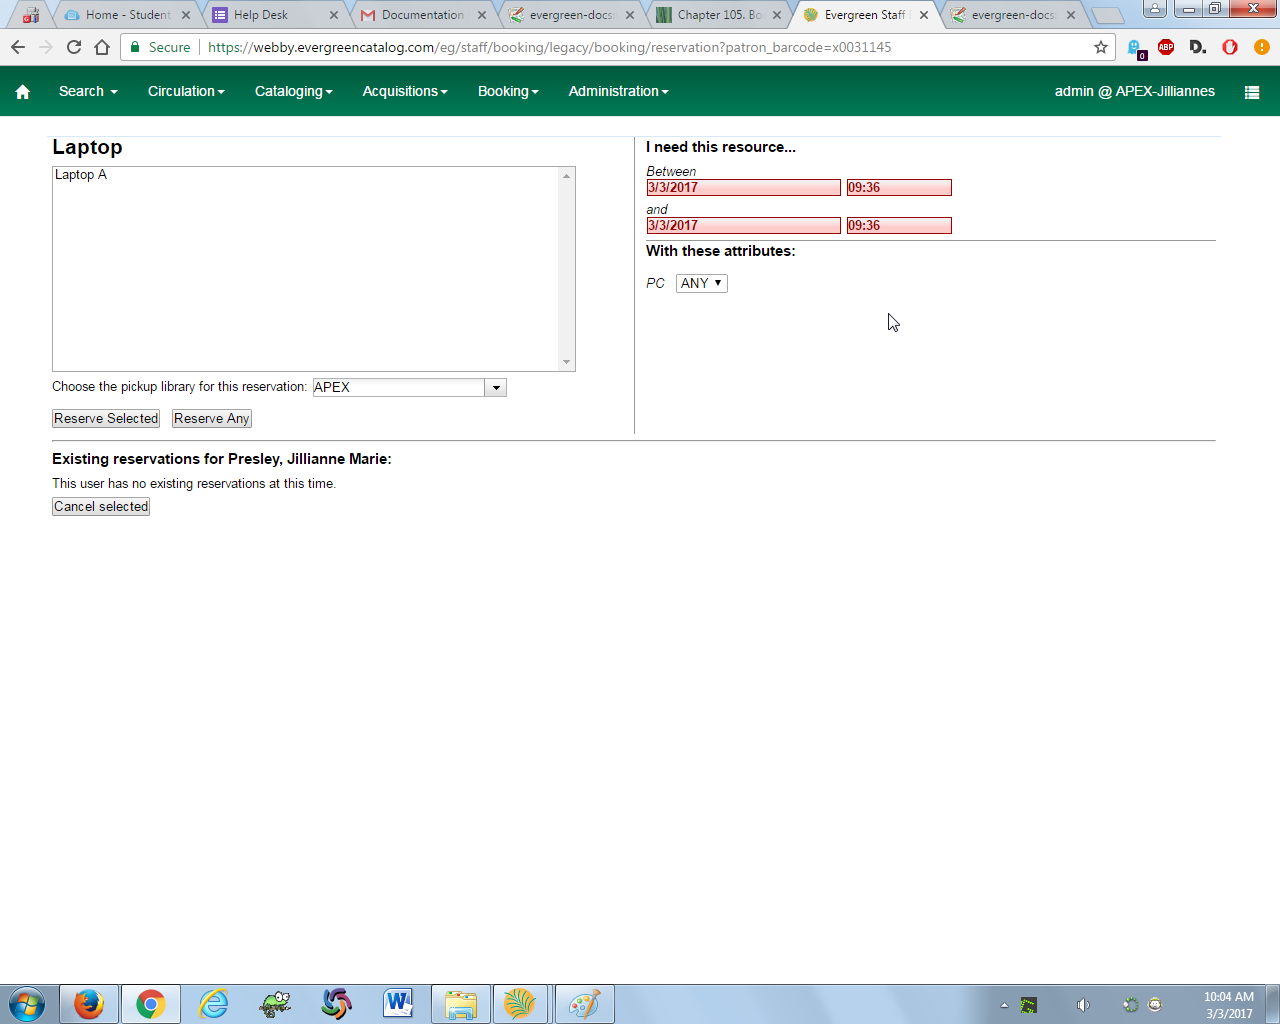
4) For non-catalogued resources, the Bookable Resource Type and the items associated with the type will appear.
For catalogued items, the title and the item will display in the box.
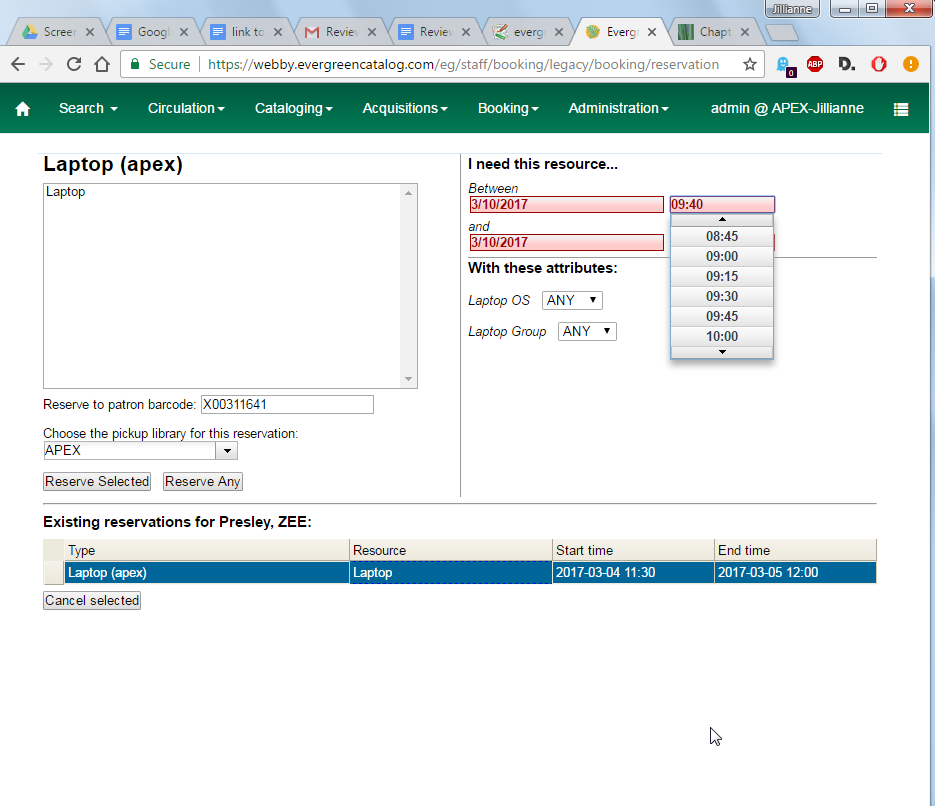
5) Select the date and time for the reservation in I need this resource… area. Click the date field. A calendar widget will be displayed for you to choose a date. Click the time field to choose time from the dropdown list.
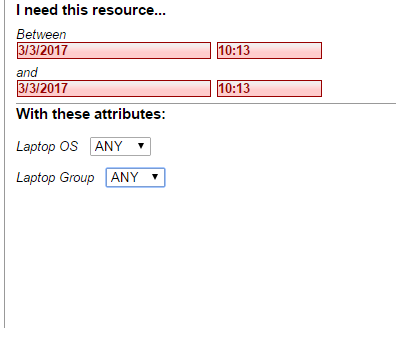
If incorrect date and time is selected, the date/time boxes will appear in red. For example, if the time for which the reservation is set has already passed, the boxes will appear in red. There must be at least 15 minutes between the creation of the reservation and the start time of the reservation.
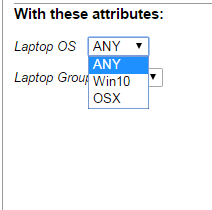
6) For non-catalogued resources, patrons may specify special feature(s), if any, of the resource. With these attributes: allows you to do so. For example, if a patron is booking a laptop he/she can choose between PC and Mac and even choose a specific operating system if they need to. Click the drop down arrow to select your option from the list.
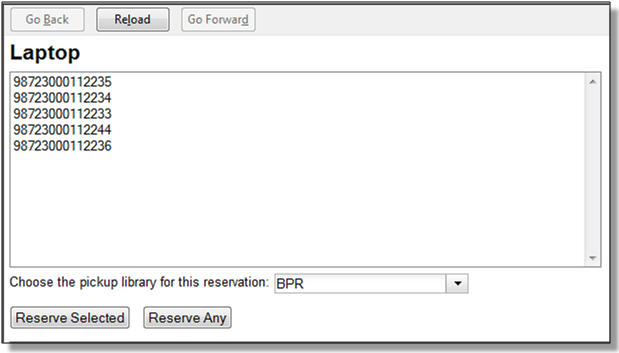
7) Select the pickup location from the dropdown list.

8) If there are multiple copies of the resource and any item listed is acceptable, click Reserve Any. To choose a specific item, select it and then click Reserve Selected.
9) A message will confirm that the action succeeded. Click OK on the prompt.
10) The screen will refresh and the reservation will appear below the patron’s name at the bottom of the screen.
To report a problem with this documentation or provide feedback, please contact the DIG mailing list.
© 2008-2015 GPLS and others. The Evergreen Project is a member of the Software Freedom Conservancy.
